Table of Contents
Managing Users
Anyone needing access ChekRite must have a ChekRite User profile.
ChekRite has different Roles, which grant differing levels of access to the system. Additionally, users in ChekRite can be granted access to the ChekRite mobile app, and/or the ChekRite Portal.
Chekrite App users are able to login to the mobile app on any device registered with your company. These users are able to complete checklists, such as pre-start inspections.
ChekRite Portal users can use the ChekMate app or the ChekRite Portal to administer the ChekRite environment. Their access will be determined by the Role.
Creating a user
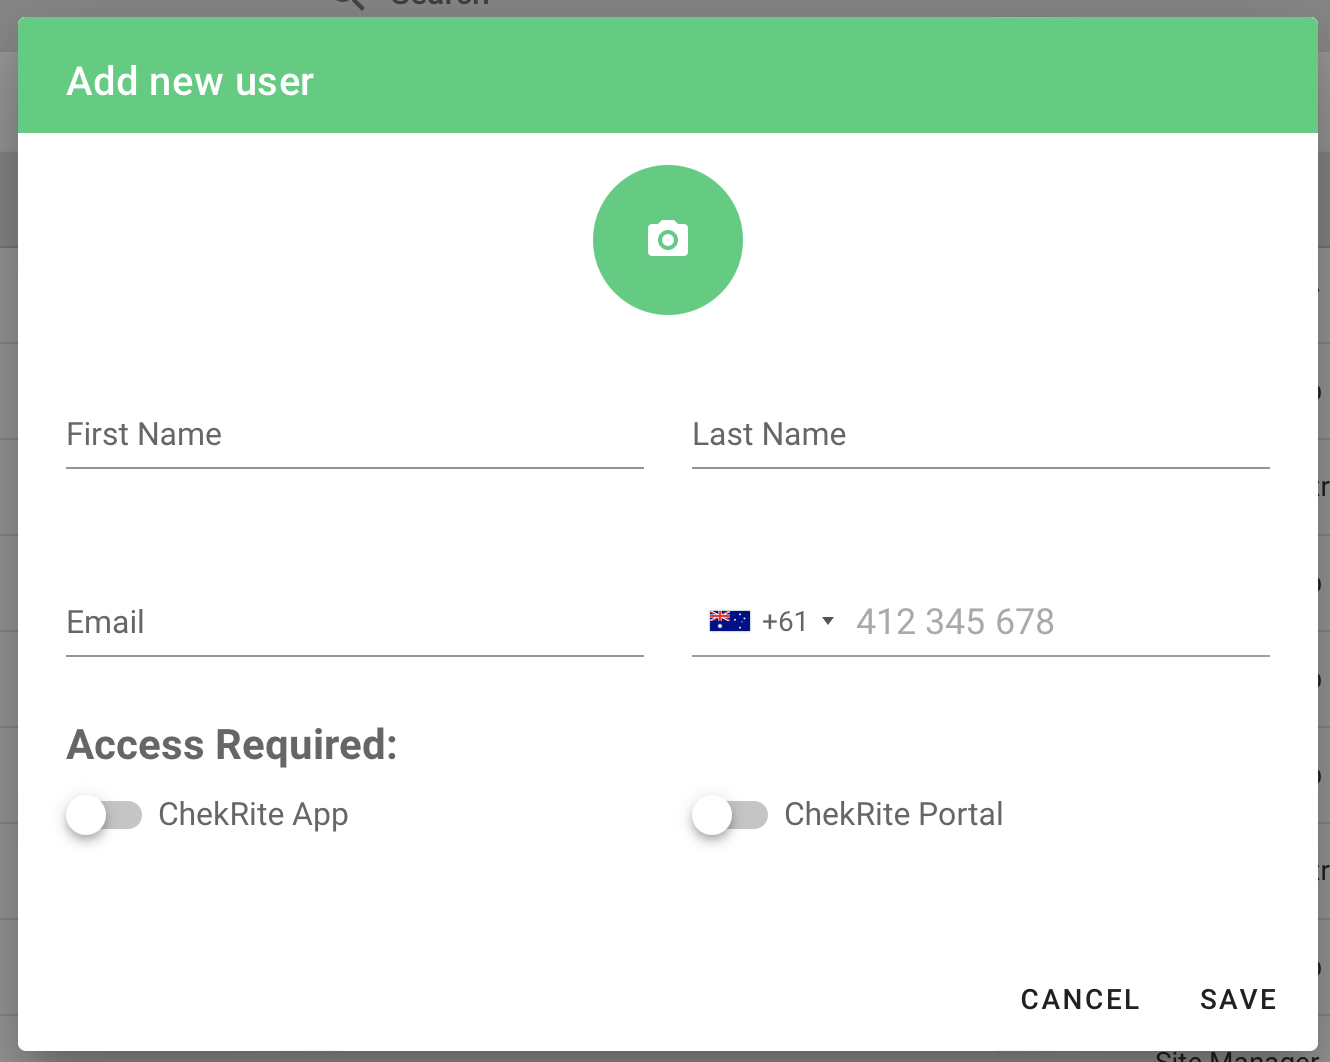
To create a new user in ChekRite, all you need is their first and last names.
More information can be added to allow more functionality, including notifications and reporting.
In addition to creating the new user you will need to specify their access to the ChekRite App and the Portal. Please see instructions on how to do this below.

First Name | The first name of the user | Mandatory |
Last Name | The last name of the user | Mandatory |
The email address of the user. If this is entered, then ChekRite will be able to send the user emails, including welcome messages, notifications, and reports. | Optional | |
Contact Number | The phone number of the user If a mobile phone number is entered here, the user will be able to receive text messages from the notifications system. Note that the phone number must be entered in international format. e.g. +61 447 555 123 | Optional |
Profile Photo | A photo of the user. You can upload a photo of the user and it will appear when they log-in to ChekRite, in the list of users in ChekMate, and when the Employee Extra Info type is used. Additionally, users can upload their own photo in the ChekRite app. | Optional |
ChekRite App Users
Rather than use long user names and passwords, to make logging in quick and easy fast ChekRite users a numeric Employee ID and PIN combination to authenticate the user. The Employee ID can be up to 10 digits long however, however the PIN must be exactly 4 digits long. We only support numbers in these fields.
Most organisations already have existing numeric identifiers assigned to each employee which can also be used as the Employee ID Number. This could be employee ID, payroll number, badge number, or even their phone number. Otherwise, you are free to assign any unique number - we recommend the last six digits of their mobile number.
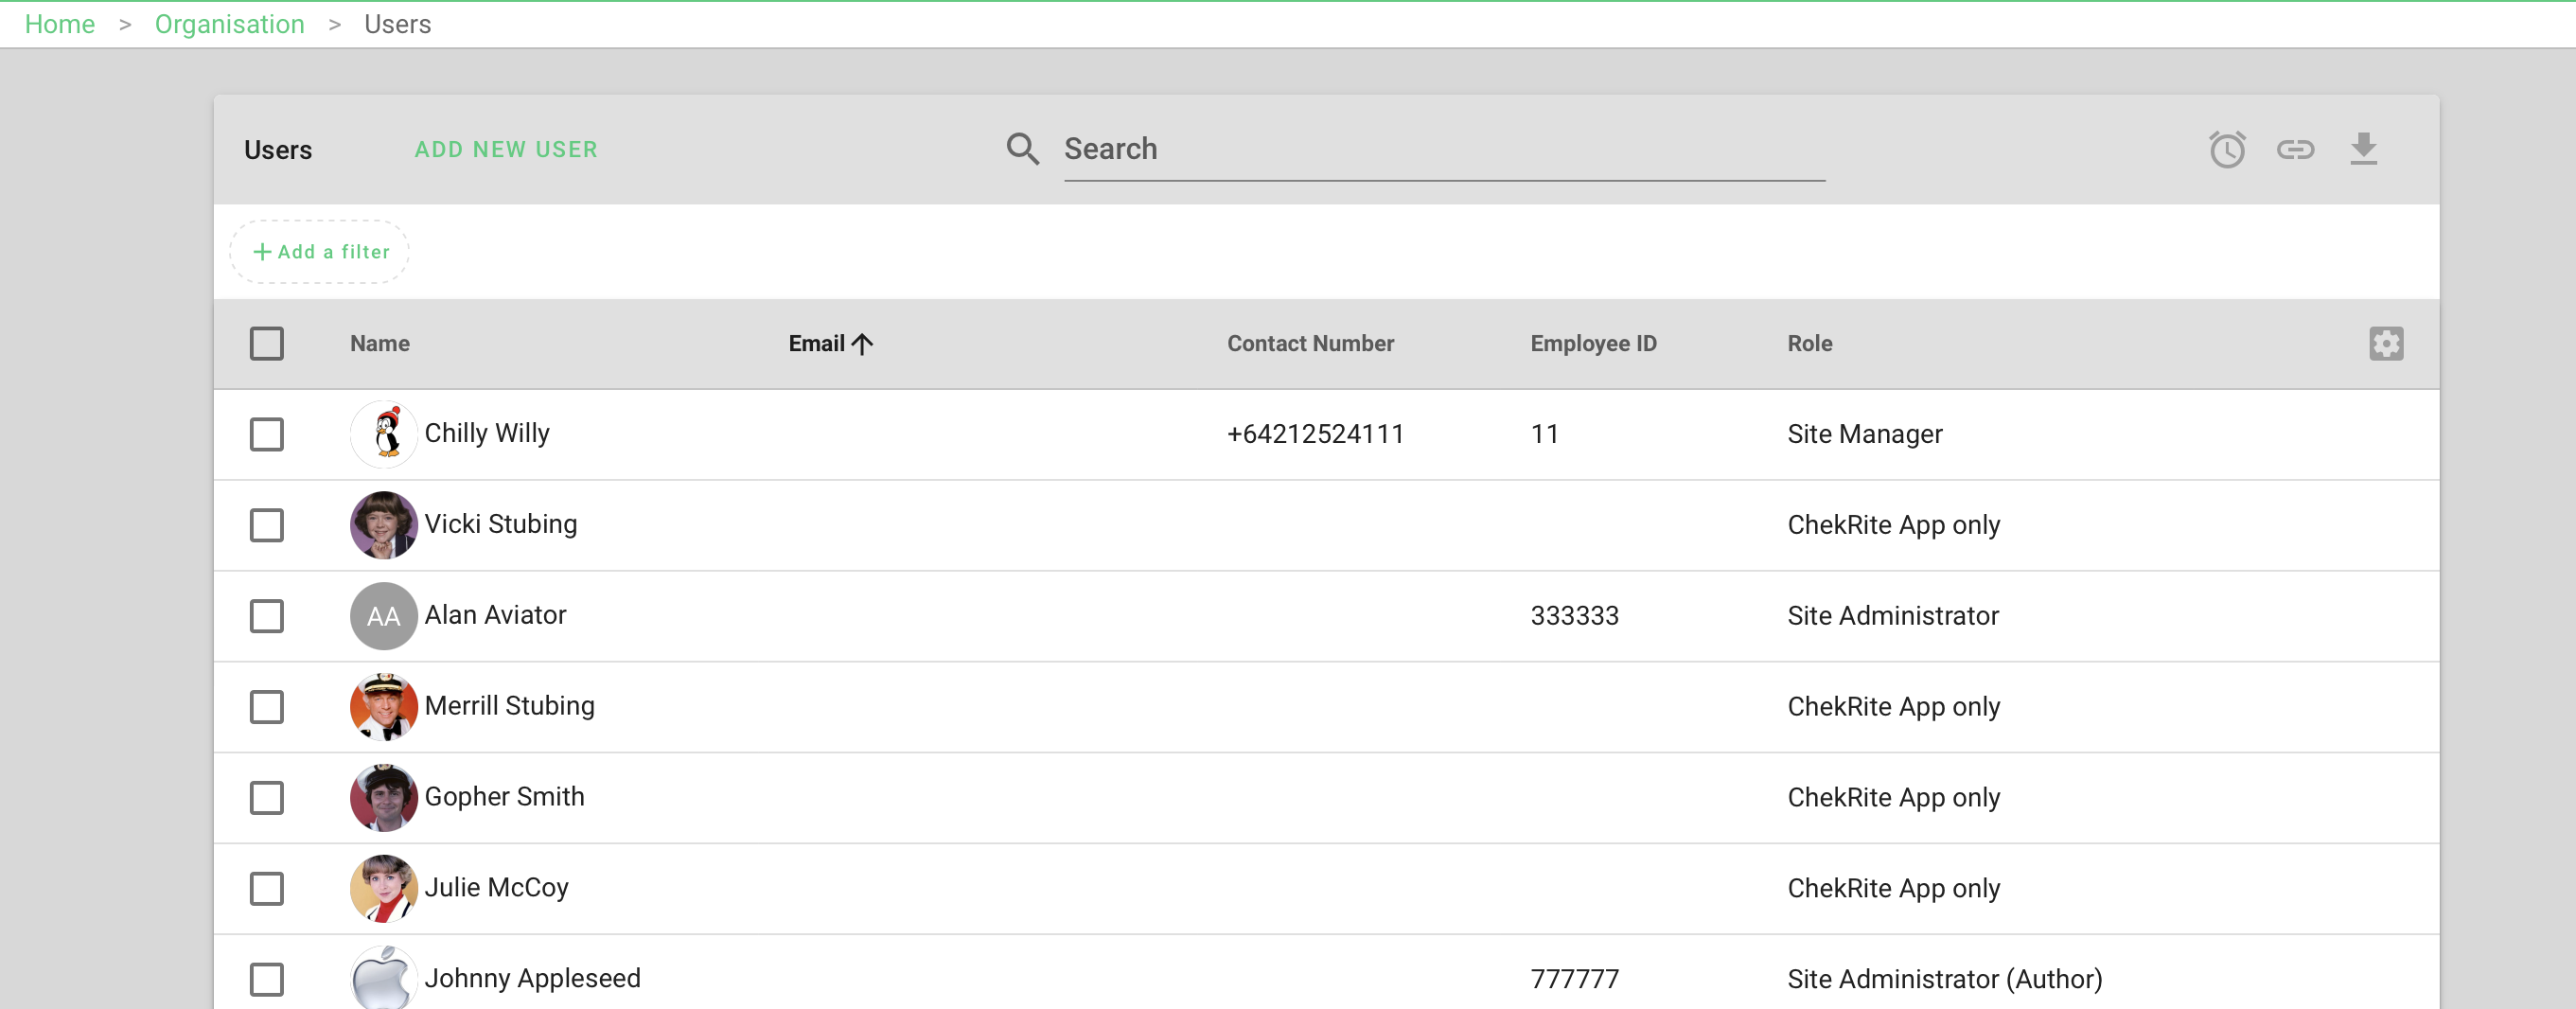
To add a ChekRite app user to the system do the following:
- Navigate to Organisation -> Users
- Push the Add New User button if this is a brand new user.
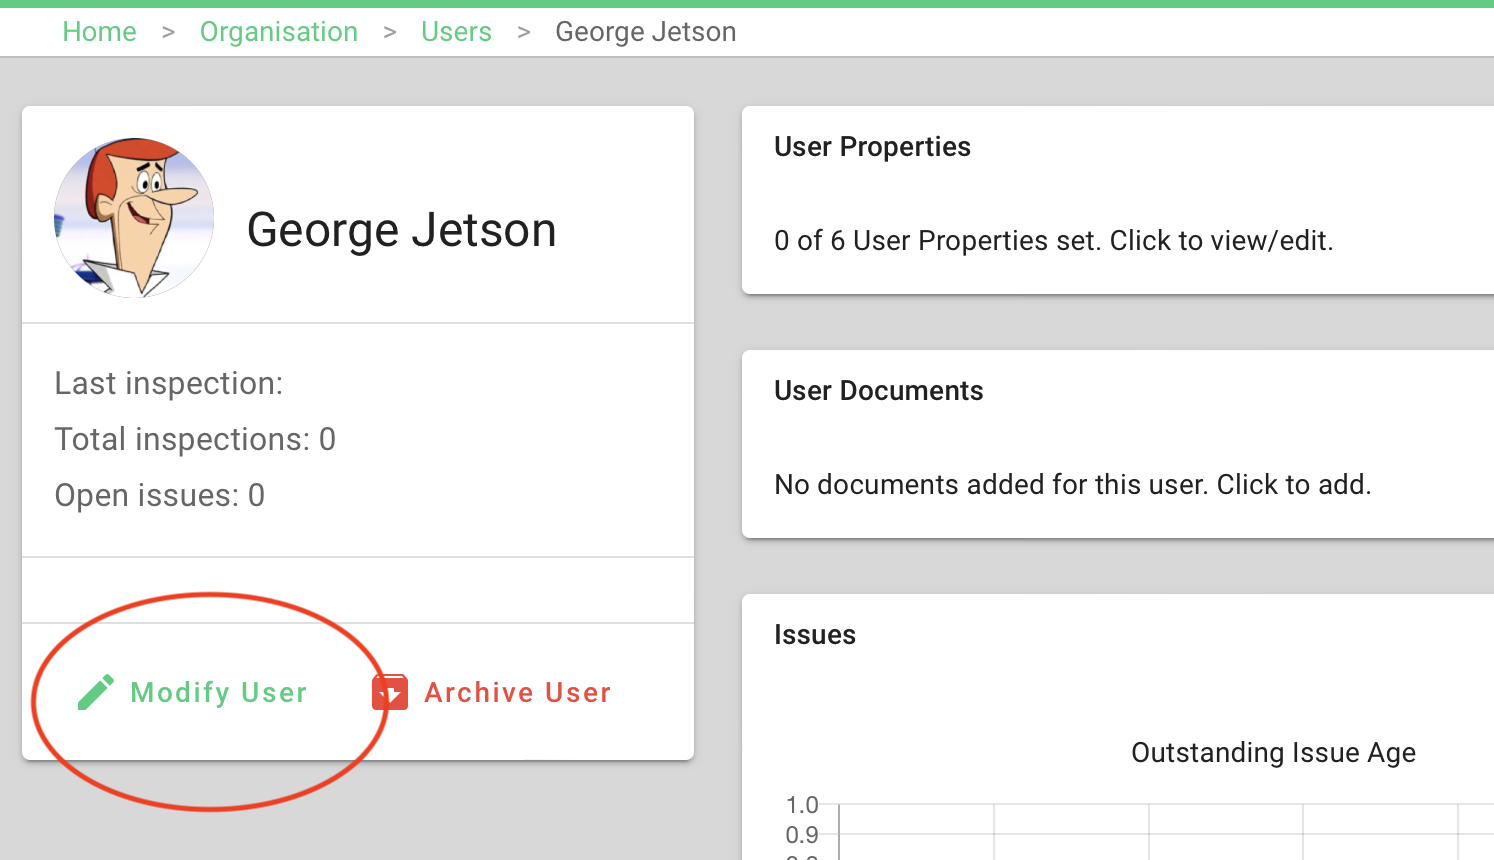
If this is an existing user, select them from the table, then click the Modify User link.
- Enter the required information as per the table above.
- To give this user access to the ChekRite app, expand out the ChekRite App Credentials panel in the above window.
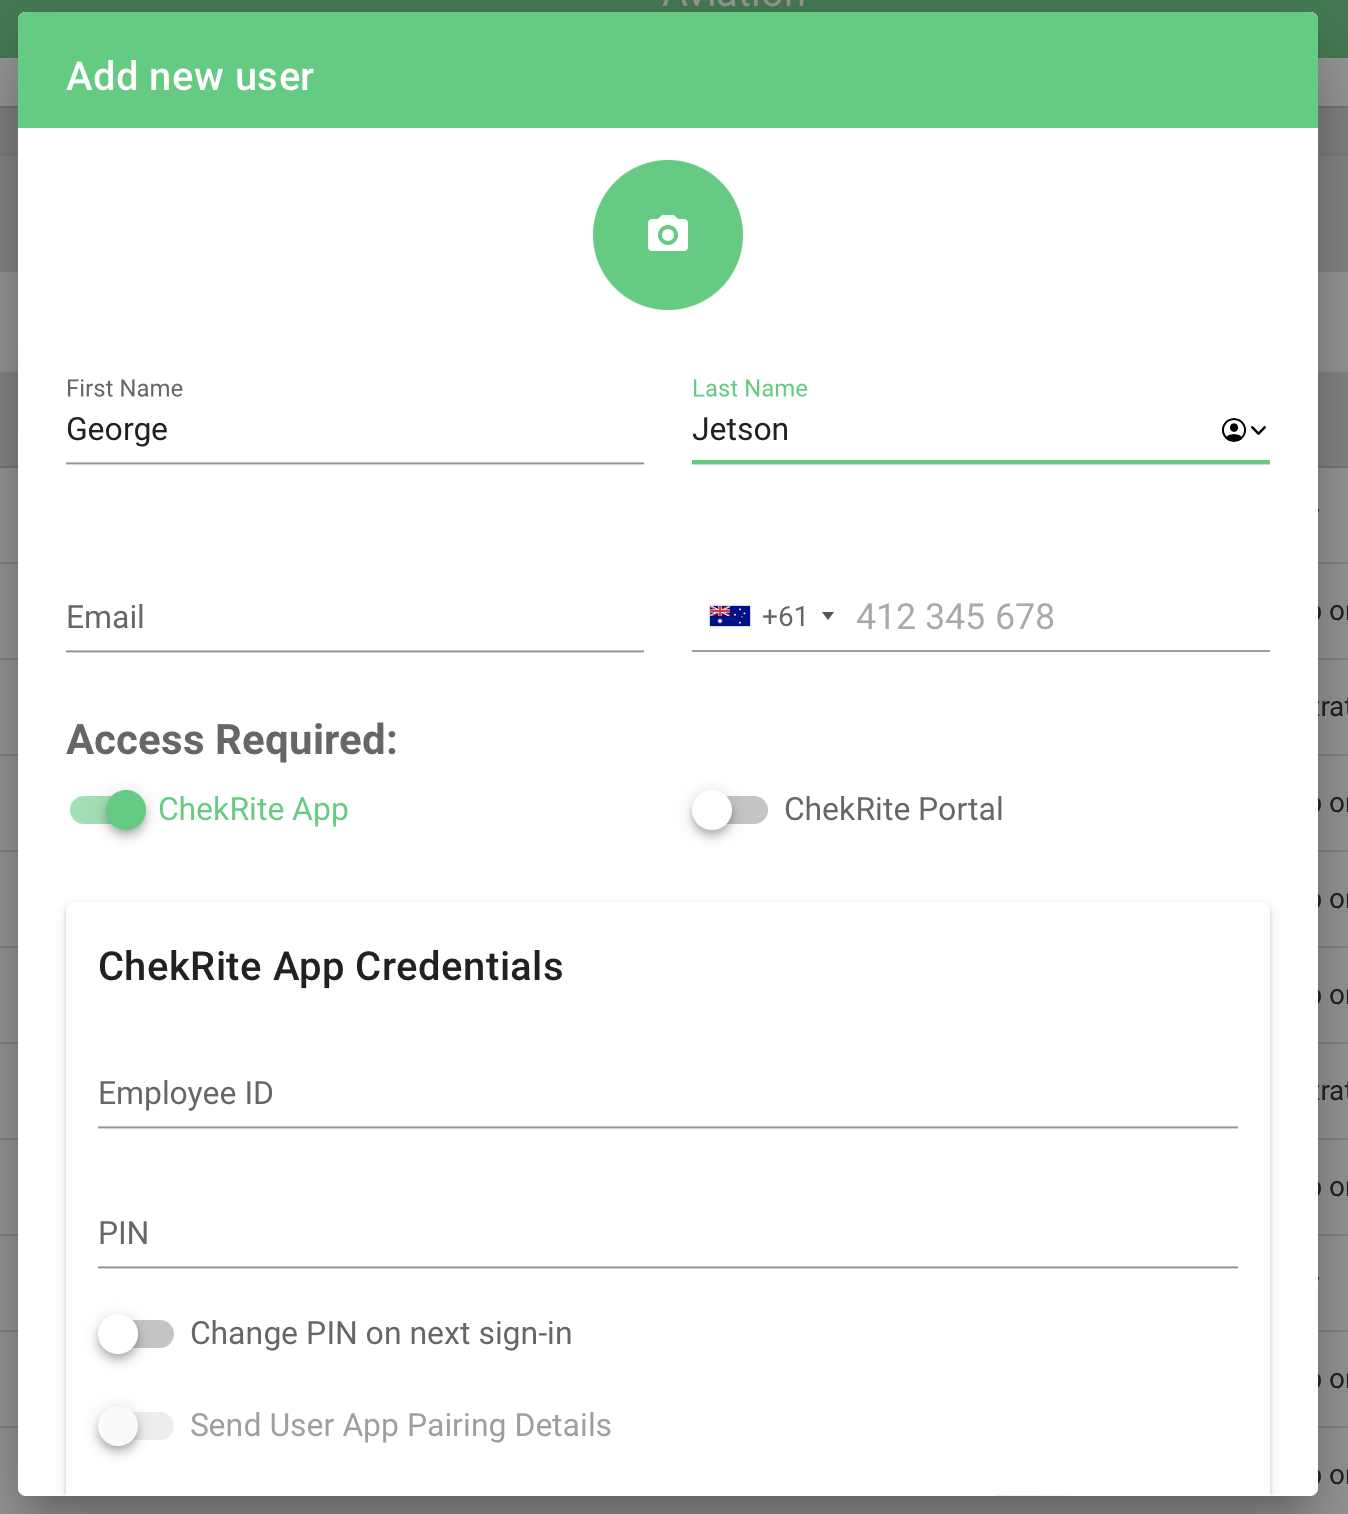
- Enter in their Employee ID and PIN. If you want them to change the PIN when they next sign-in slide that switch across.
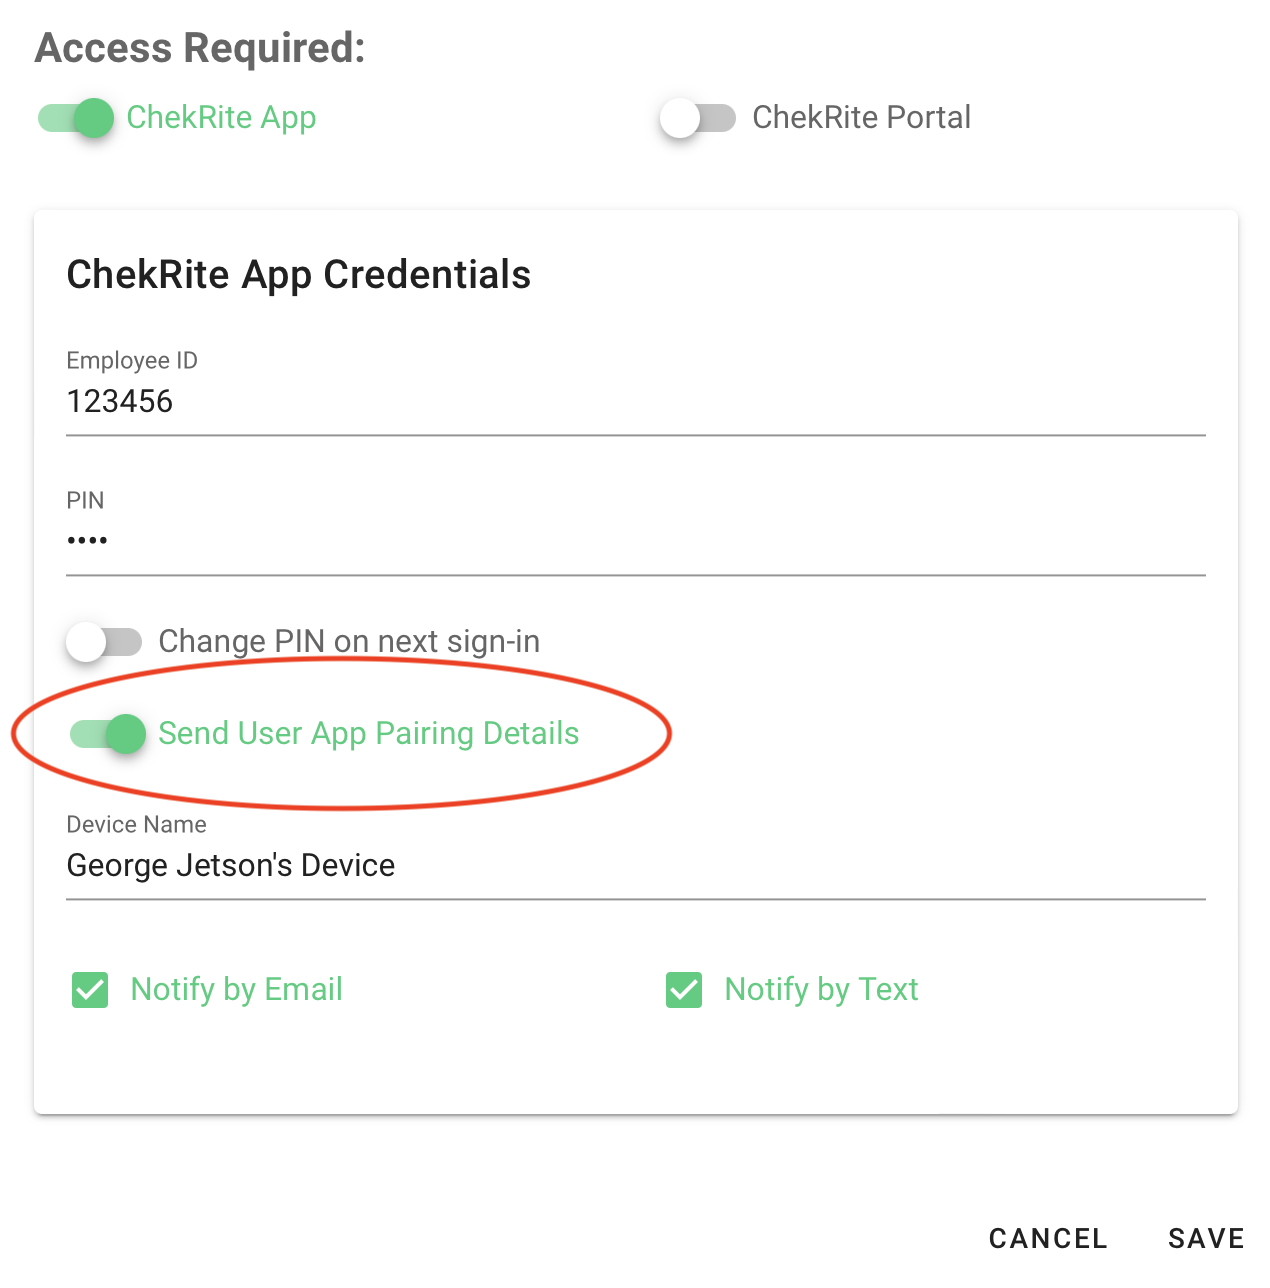
- If you would like to automatically send a welcome letter (which contains information in how to download the ChekRite mobile app and pair it with your company) with pairing details to the user slide over the switch at the bottom of the screen called Send User App Pairing Details.
By default, a device will be created based on the users name, however you can change this to any name you prefer.We can only send welcome information to user if you have entered their email address and/or phone number. - Push Save
ChekRite Portal Users (Managers and Administrators)
To grant a user access to the ChekRite Portal, click on the "ChekRite Portal" button during user creation, or the "modify user" button on their profile page.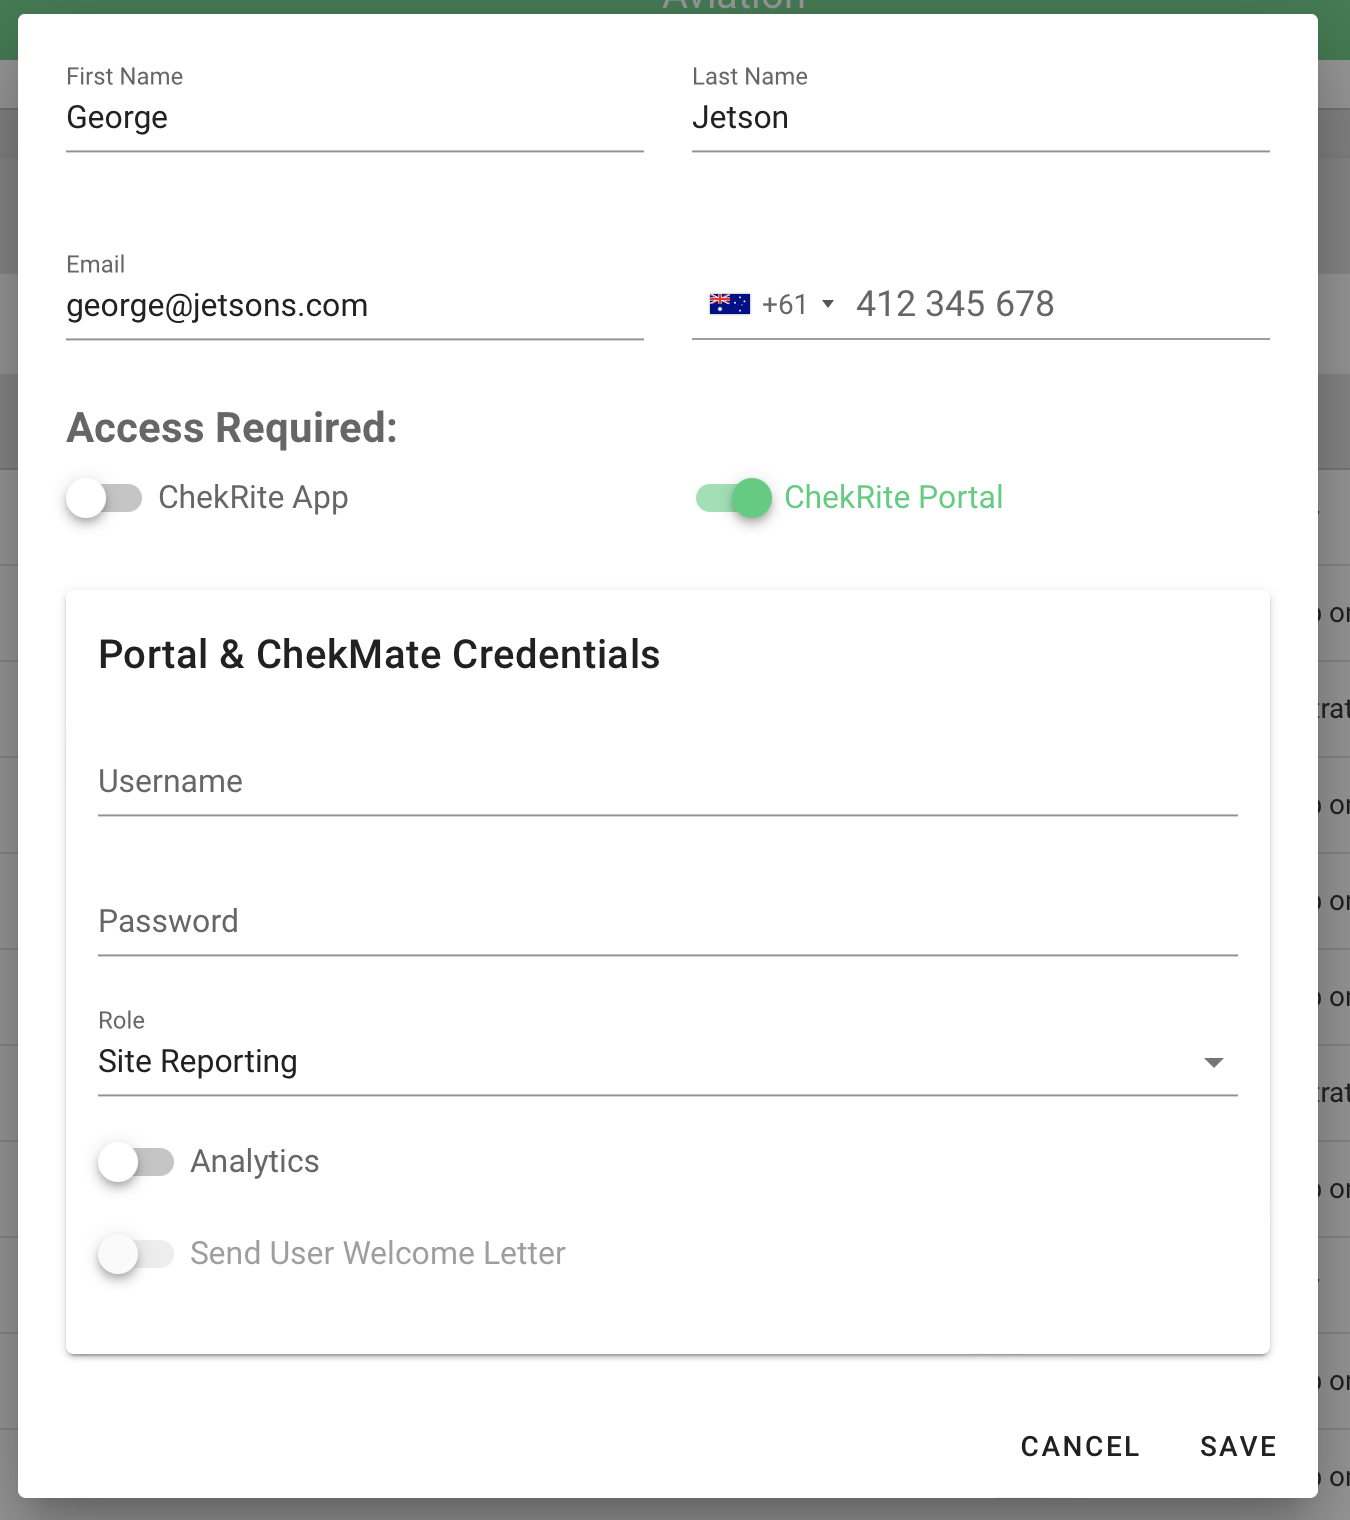
The Portal and ChekMate user name must be unique across the whole of ChekRite (not just within your company). For this reason, we advise using the users company email address as their username (it's easy to remember as well).
If they don't have a company email address, you can create a user name based on the company name. For example, if your company was called "ABC Corp" and the user was called "John Smith", you might create a user name of "abc_corp/john.smith" or "abc_corp/jsmith".
You will also need to specify the initial password for the user. The user can change their own password once they have logged in to the portal.
Finally, you need to select a user role from the drop-down list. The available user roles are defined here.
When creating a new user, they are automatically given access to the site you are currently logged into, although access to additional sites can be granted.
Additional User Properties
From the User Properties panel, you can view the properties that have been set for that user (including the historical values), set new properties or print out a list of properties.
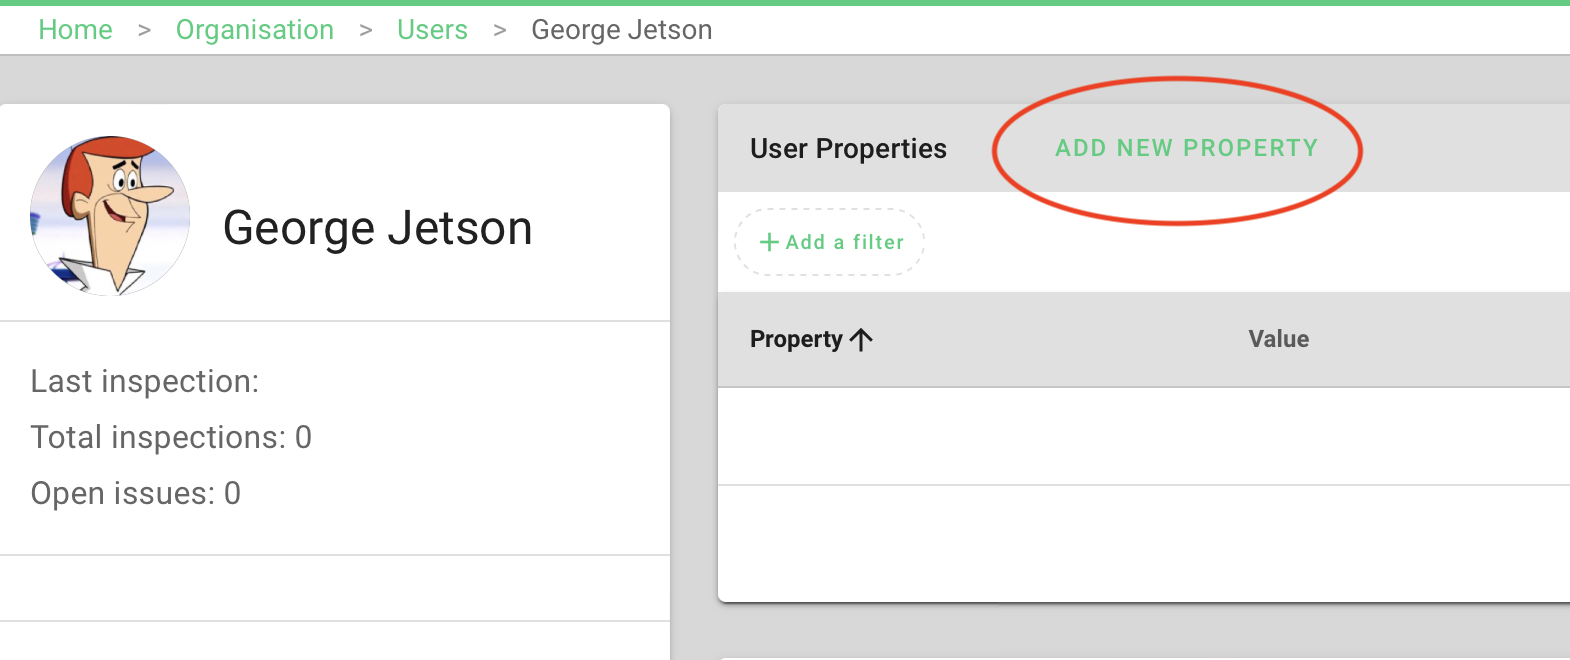
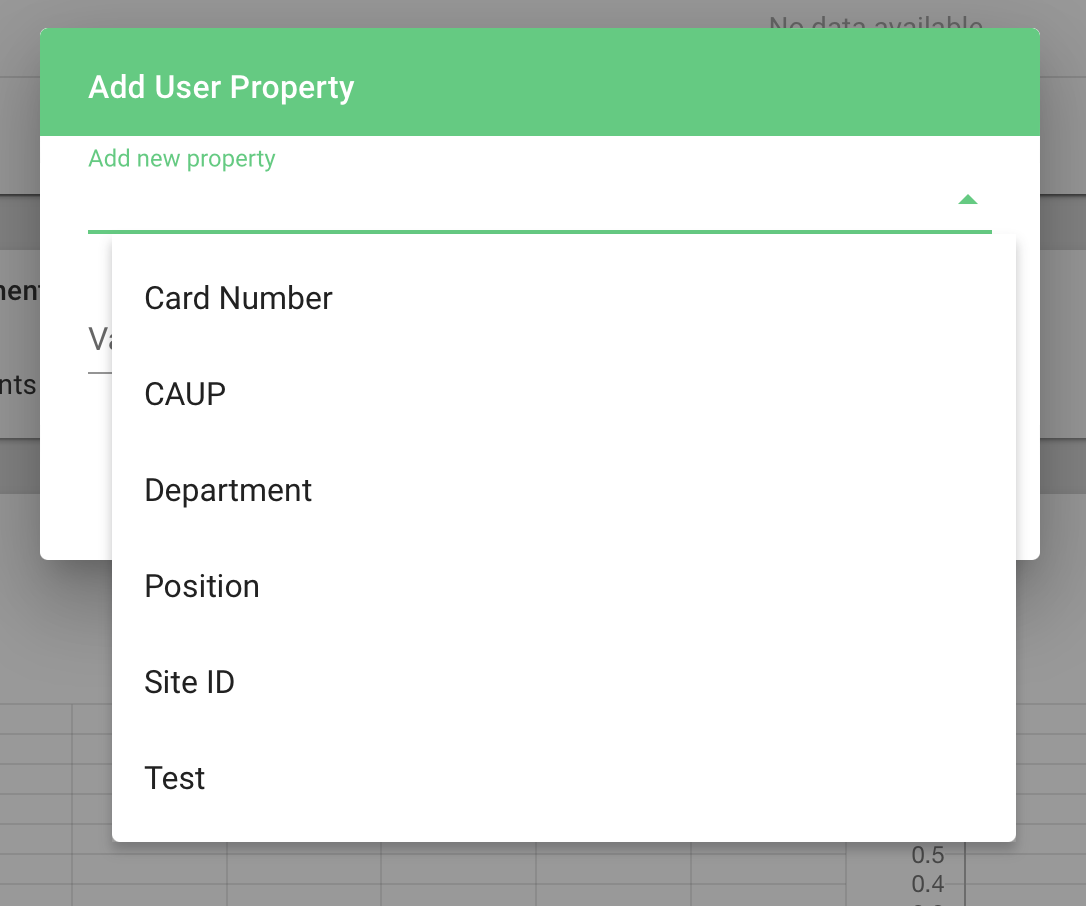
To add a new User Property push the Add New Property button. You will then be able to select the property you want to add and set the value. Depending on the data type of the property (e.g. date, numeric, text, etc.) your options for entering the value may change.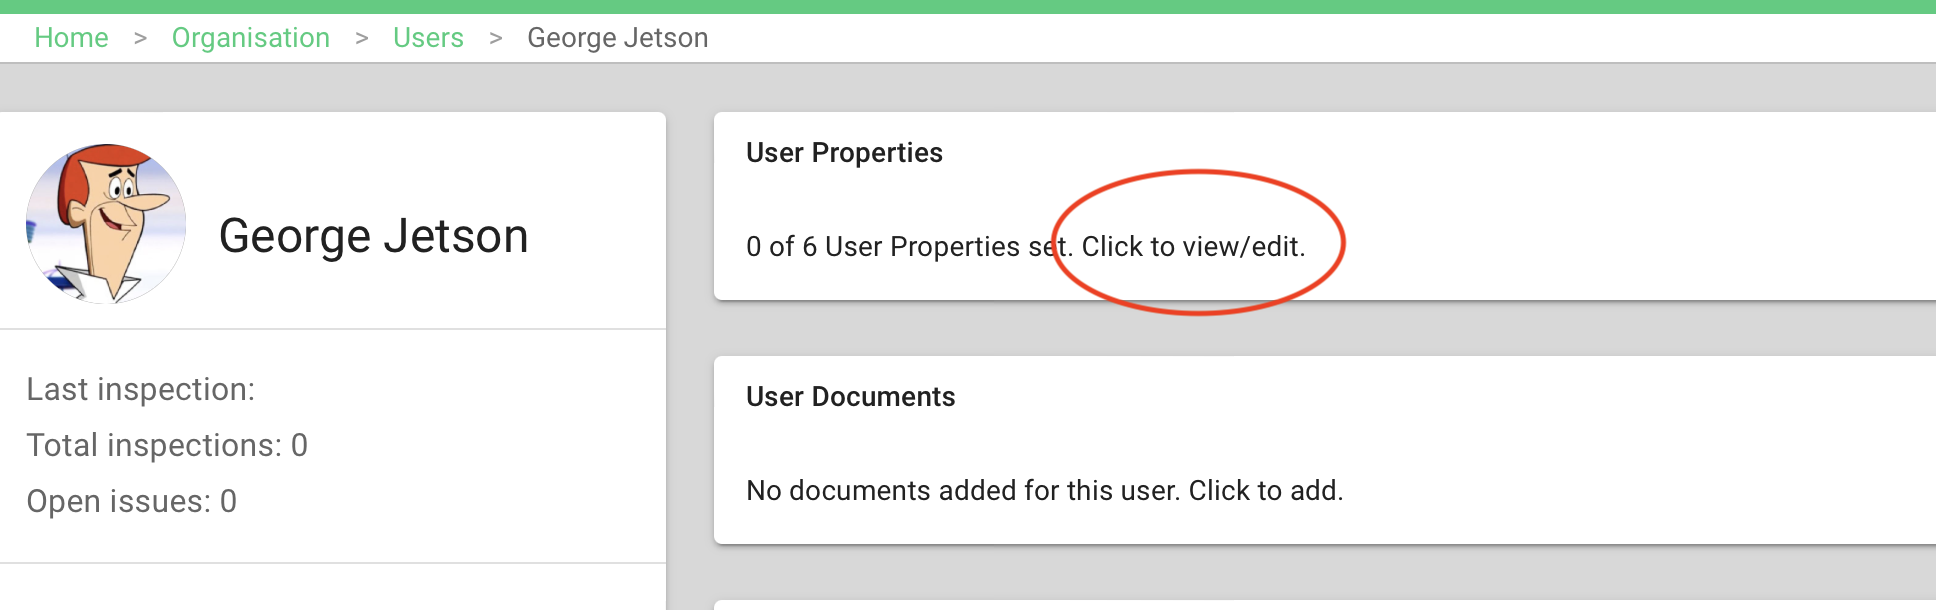
If you hover over a User Property you will be presented with options you can select.
Adding User Attributes to profile
You can add individual attributes to appear under the user profile picture from the User Properties table.
Add to Profile will add that User Property to the profile panel on the left so that every time you look at a user, this User Property will be visible if it's set. This is really useful for User Properties you always want to see. This will apply to everywhere that the User Panel is displayed. Once added, the hover action will change to Remove from Profile.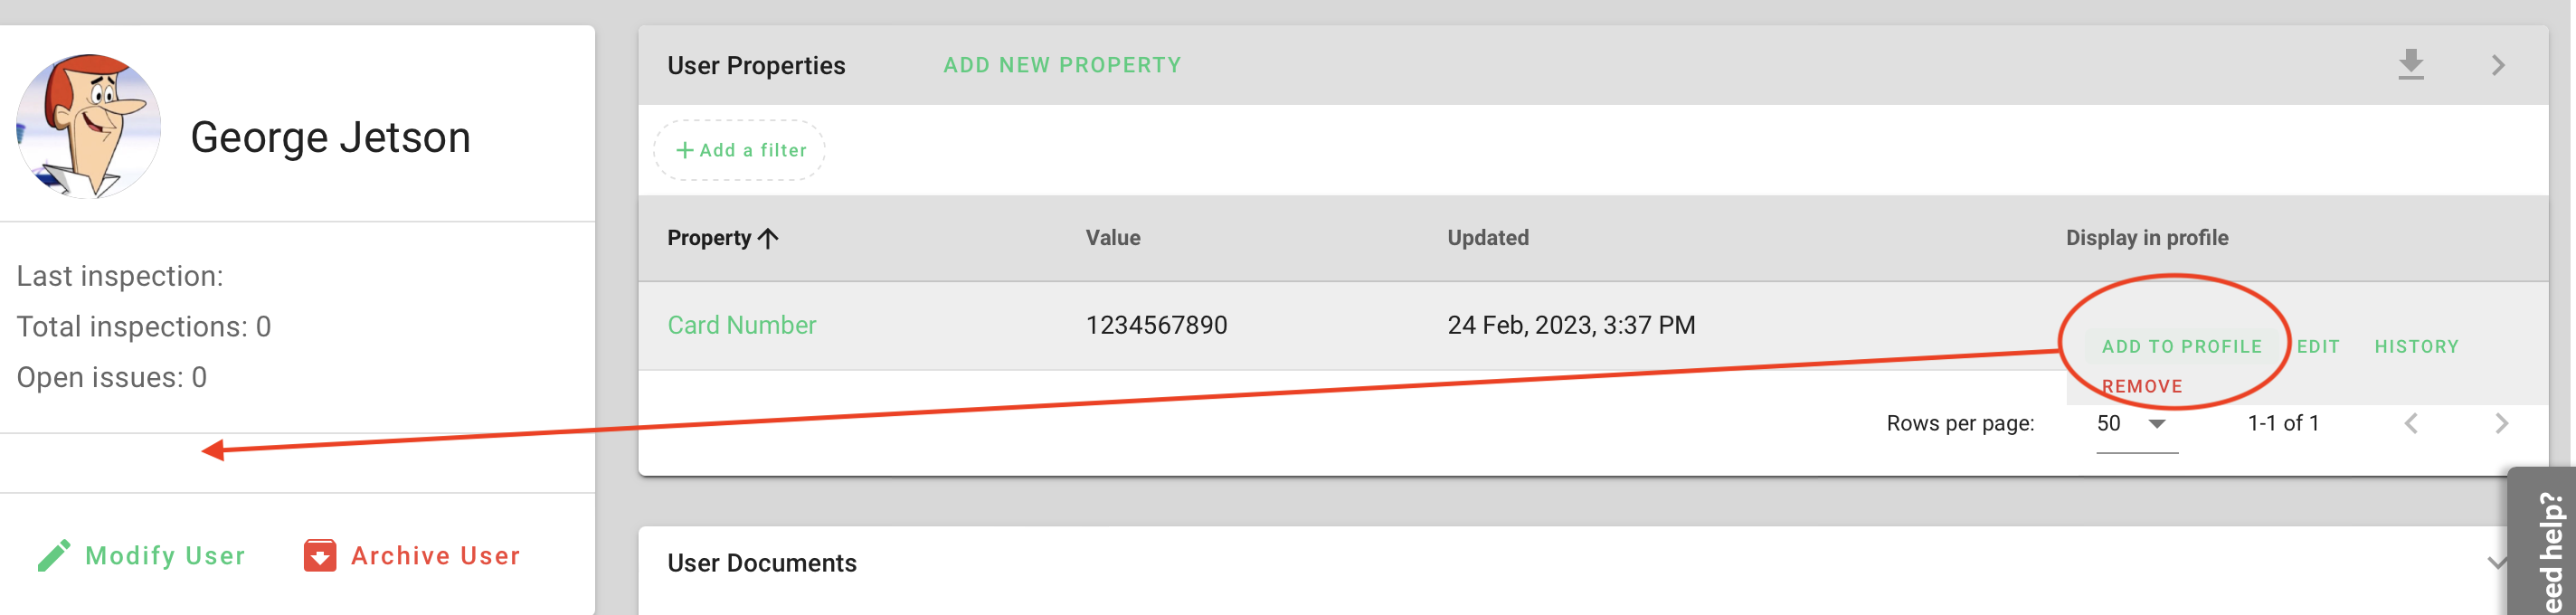
You can also look at the historical values of a User Property and see who changed it and when. Just click the History hover action and you will be presented with a window showing you all the previous versions of that User Property.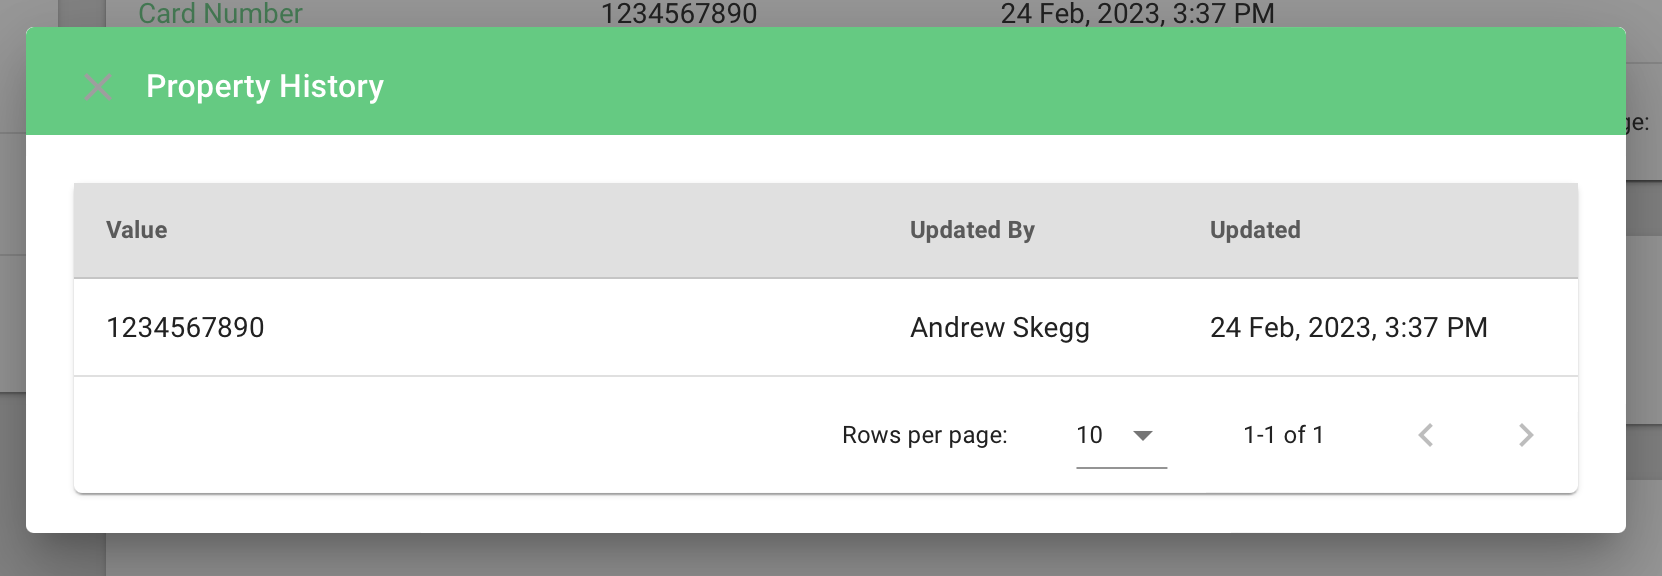
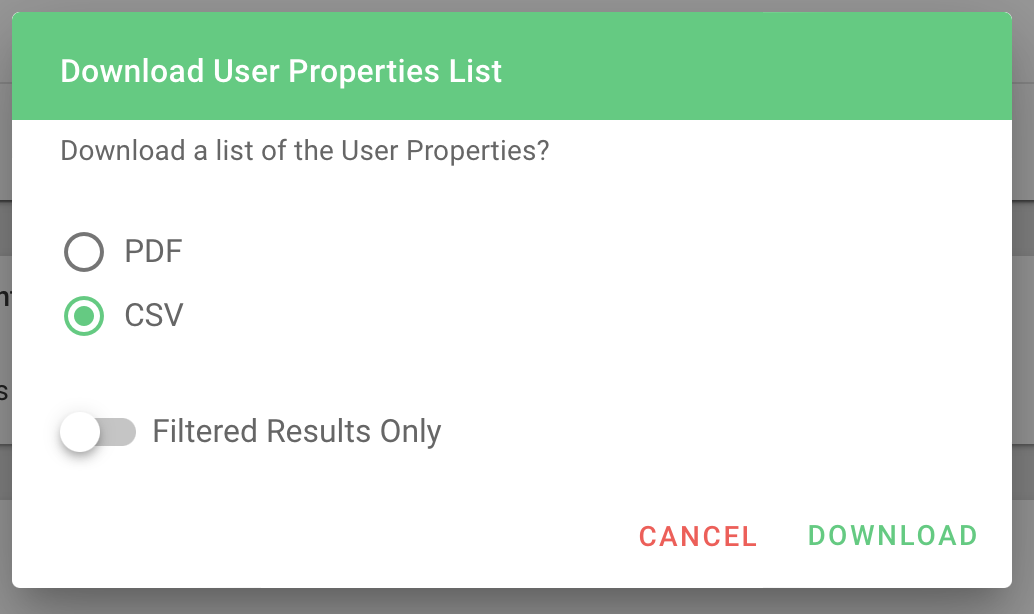
Another handy feature on the User Properties panel is the ability to download a list of the current values of all the User Properties for this User. To do this, push the download icon at the top right of the panel and you will be presented with the dialog box below. From here you can choose whether to have this list provided as a PDF or CSV file. You can also choose just to download the filtered results otherwise all the current values of the User Properties for this User will be included.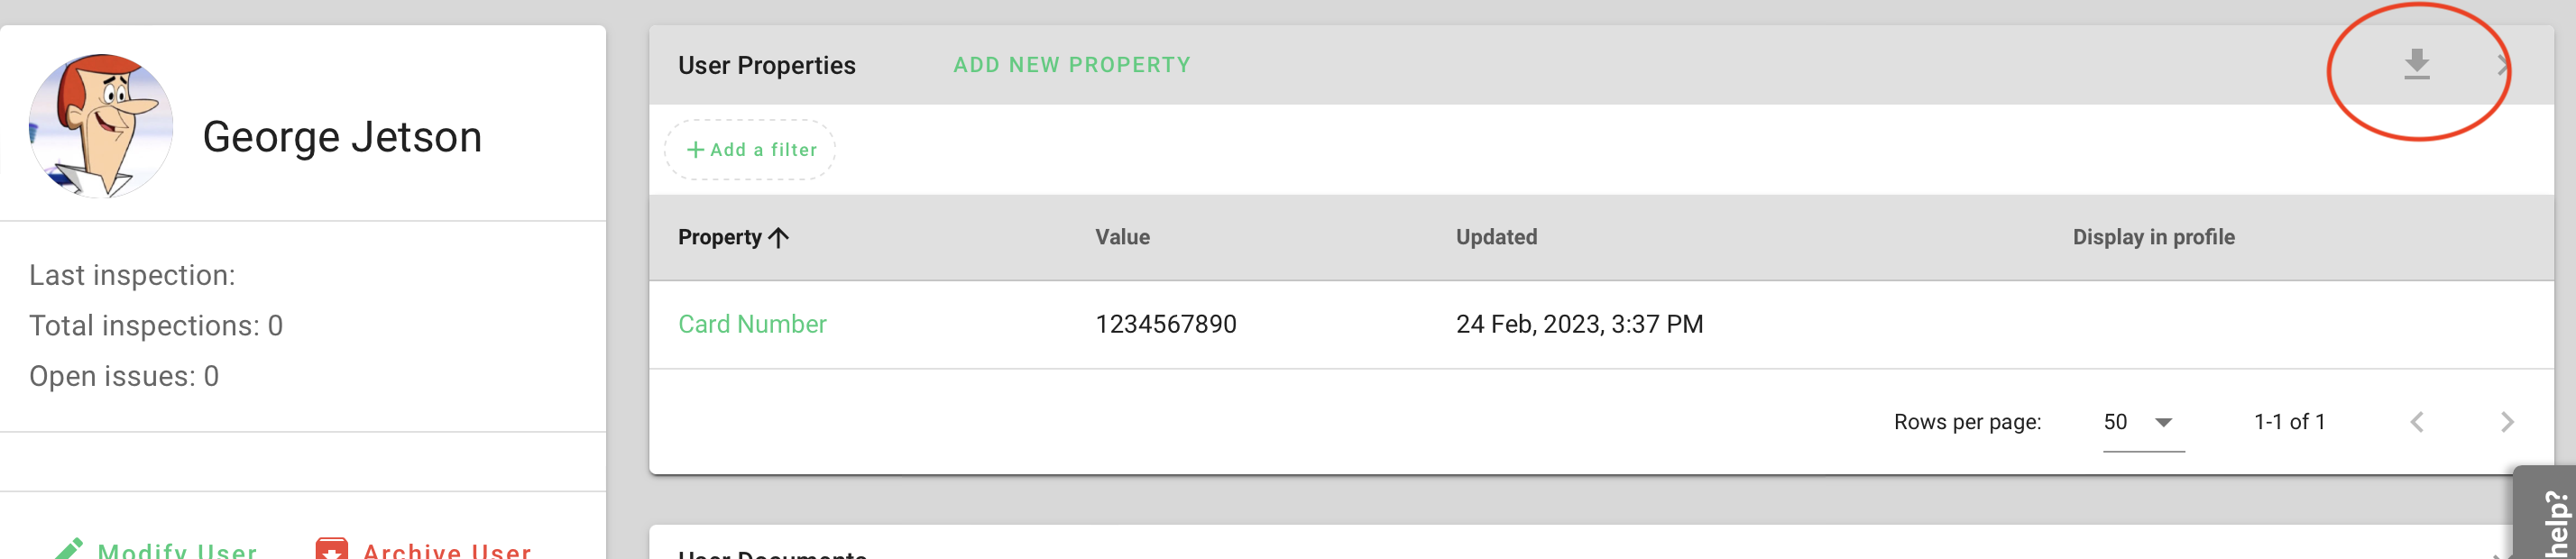
User Documents
User Documents are documents of files that you want to store for a user that will be made available in the ChekRite and ChekMate apps. This could be things like licences but also certification documents. These documents are synced down locally to the device and users can view their own documents whenever they need to and, if allowed, share them with others.
Add a new User Document:
- Go to Organisation -> Users and select the user to which you want to add a document
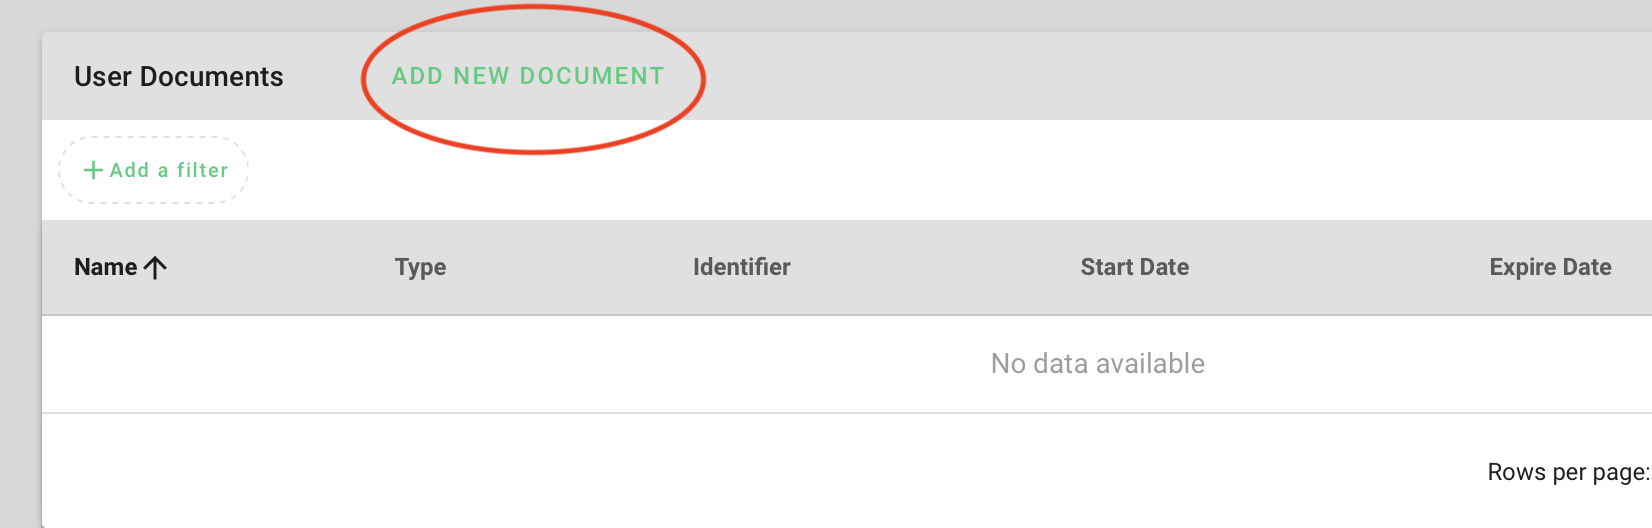
- Click on the User Documents panel to open it and push the Add New Document button.

- Enter the required information on the document.
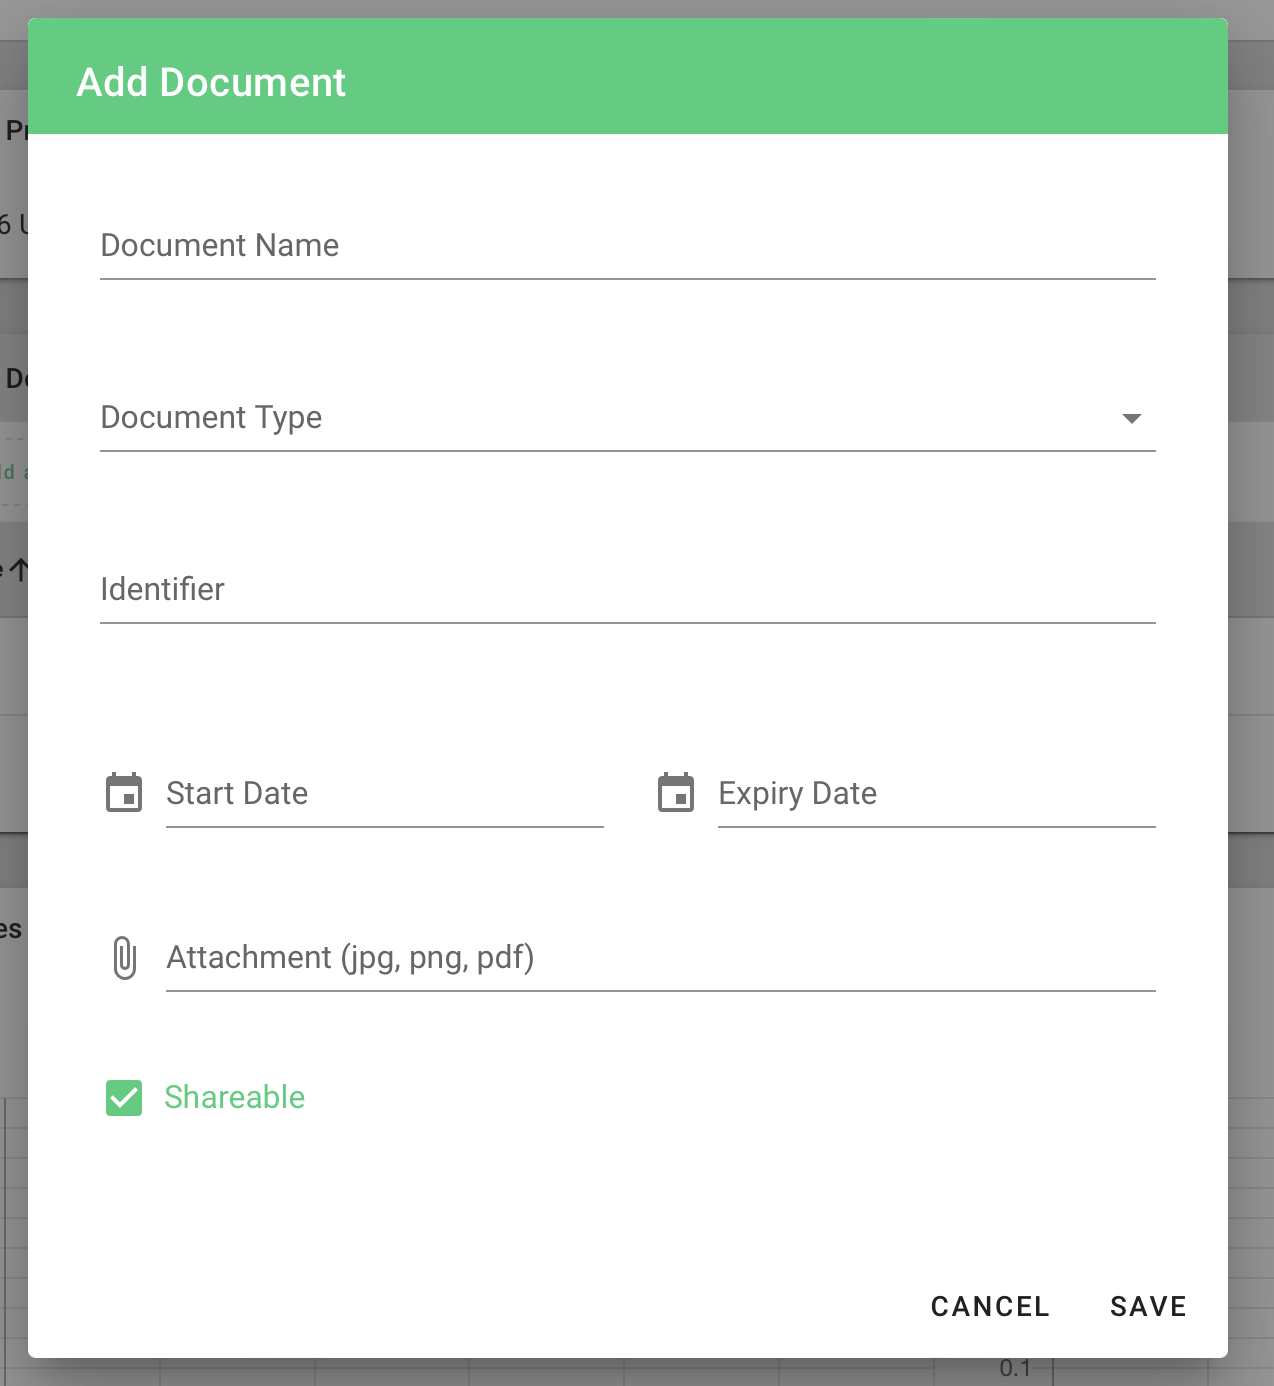
Document Name
This is what the document is. Use this to describe what the document is so that if there are several of the same type, you know what it is. E.g. Drivers Licence or Forklift Licence.
Mandatory
Document Type
Select from the Drop Down list of valid document types. If you need to add a new document type, do it through the Advanced menu.
Mandatory
Identifier
If the document has a unique identifier such as a Licence Number or Registration number you should enter it here. Not all documents will have this though.
Optional
Start Date
If the document has a start date or effective date enter it here to be used in reporting.
Optional
Expiry Date
If the document has an expiry date such as a drivers licence enter it here so that you can report on documents that are approaching expiry.
Optional
Attachment
This is the document itself. It can only be in either a JPG, PNG or PDF format. Editable documents such as MS Word and MS Excel are not supported.
Mandatory
Shareable
If you want to allow users to be able to share this document with others. If ticked, they will have the option to send a public link to the document to others by email or text.
Optional
- Push the Save button.
User Issues
This will display all the issues that have been raised by the user. From here you can triage or review the issues. You can also print an issue worksheet or report once the issue is selected. You can add filters to only show certain issues or search by the issue title.
User Inspections
This will display all the inspections that have been submitted by this user. From here you can view the inspection as well as share the PDF.
User Groups
Here is where you can assign this user to a user group.
User Sites
A user can have access to more than one site.
If the user has company level access they will have access to all sites regardless of whether or not the site is selected in this tab.
By granting the user access to more than one site, they will be able to use their same employee ID and PIN to sign into different devices at different sites that they have been given access to.
Changing a Password
To change your (or someone else's password if you have authority) do the following steps:
- Navigate to Organisation > Users
- Search for the employee either by entering their name, employee ID, or email in the search box, or select the user directly from the table.
- Open the users profile page.
- Click on the "Modify User" link under their profile picture.
- Update the password in the Password field.
- Click the "Save" button.