Table of Contents
Managing Asset Documentation

Documents such as manuals, certificates, policies and insurance can be stored against Assets, Asset Classes and Sites. These documents are made available in the ChekRite & ChekMate apps and can optionally be shared with others internal and external to your organisation.
Please keep in mind that only non-editable document types are supported. These are images such as PNG or JPG, or documents converted to PDF. You can not upload Excel or Word documents as these can sometimes contain harmful malware.
Managing Document Types
Before you start uploading any documents you will need to set up the document types that you will be using in your organisation. Common document types you might use include Manuals, Insurance, Policy, Certificate, Service Histories,etc.
Creating the Document Types Table
If you have never set up any Document Types before, you will first have to create the Document Types table. This may have already been done so you may not need to do this step. You will need to have Administrator privileges to do this. To set up the Document Types table:
- Navigate to Home -> Settings -> Tables & Items
- Confirm that there is not already a Document Types table in the list of Tables
- Push the New button
- Enter the name Document Types in the Name field
- Select Document Type from the Table Class drop down
Managing Document Type Entries
Once the Document Types table is created you can start adding Document Types. These will be the types of documents that you might be adding into your system such as Manuals, Insurance certificates, Service Histories or Policies. You will need to have Administrator privileges to do this.
- Navigate to Home -> Settings -> Tables & Items
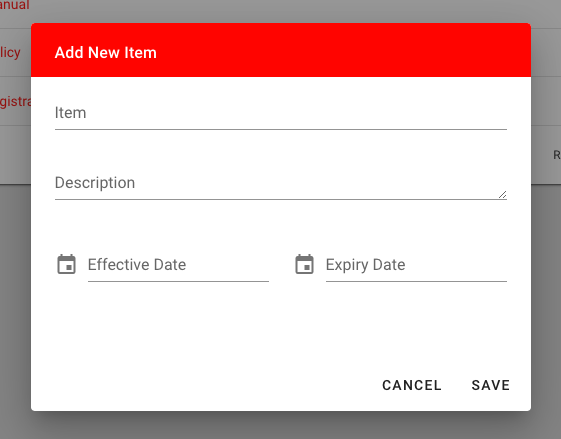
- Push the Add New Item button
- Enter the name of the document type in the Item field
- Optionally enter a description of the document type in the Description field
Managing Asset Documents
To add documents specific to a particular asset, you need to add them at the Asset level. You will need to have at least Asset Manager privileges or higher to do this.
- Navigate to Organisation-> Assets
- Select the asset you want to add documents to.
- Click on the Asset Documents panel to open it up.
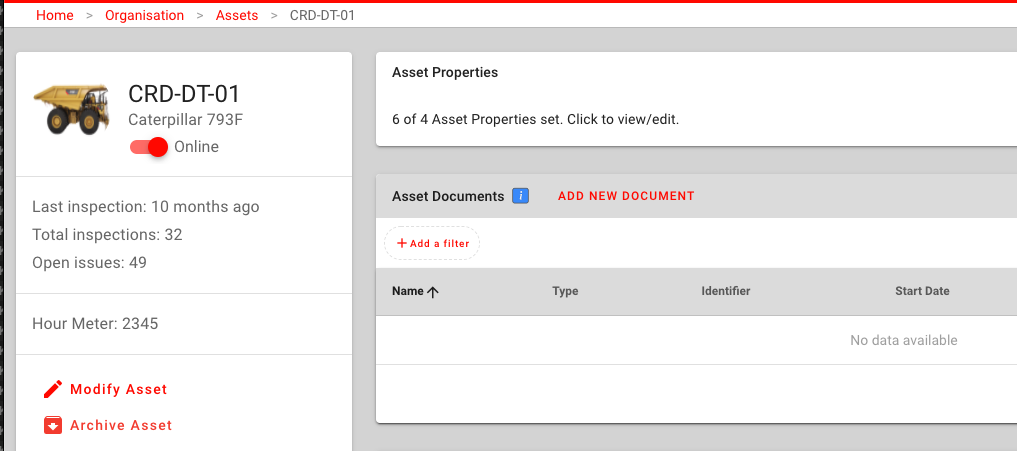
- Push the Add New Document button.
- Enter the details of the document and select the document on your computer. You can upload image or PDF type documents.
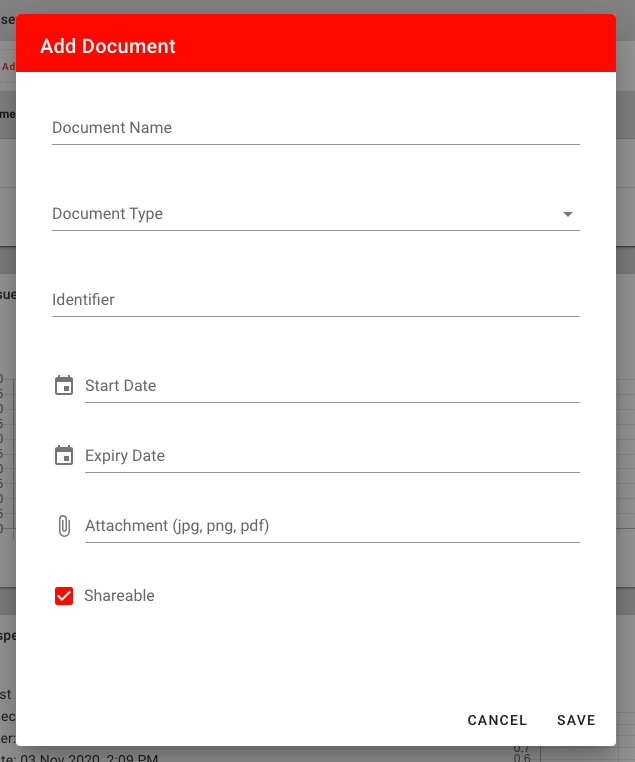
- Select the Shareable flag if you want people to be able to share this document external to your organisation.
- Push Save.
The document will now be added to that asset and will be synced down to the ChekRite apps when they next sync. If you have selected the Shareable flag, this document can be shared with other people.
Managing Asset Class Documents
To add documents that are for one or more asset classes, you need to add them at the Asset Class level. For example, an operators manual for a piece of equipment would be applicable to all the assets of the same Make & Model. You will need to have Administrator privileges to do this.
- Navigate to Organisation -> Asset Classes
- Select the asset class you want to add documents to.
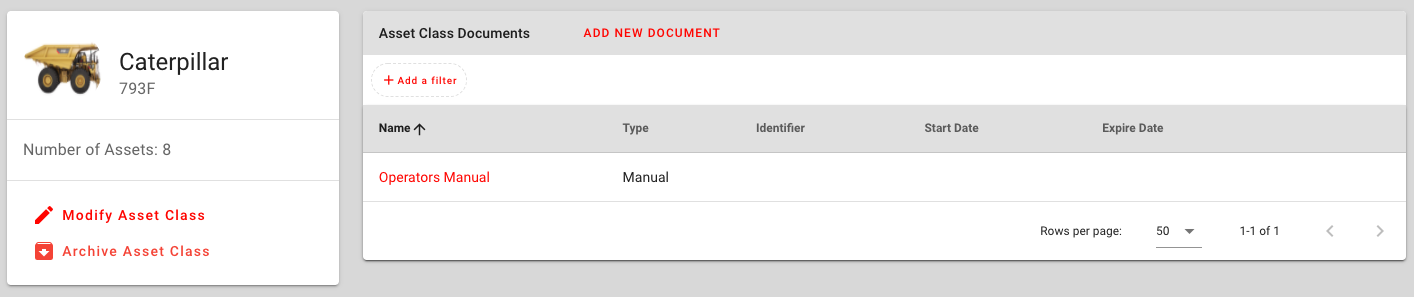
- Push the Add New Document button.
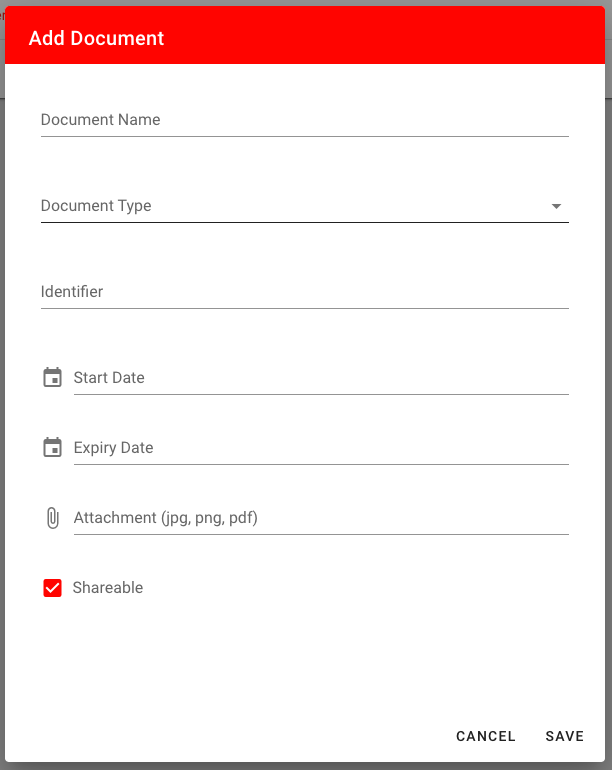
- Enter the details of the document and push the paperclip icon to select the document on your computer. You can upload image or PDF type documents.
- If the document is applicable to more than one asset class, you can select them under the Asset Class field.
- Select the Shareable flag if you want people to be able to share this document external to your organisation.
- Push Save.
The document will now be added to that asset class and will be synced down to the ChekRite apps when they next sync. Any asset of that class will be able to view the document and if you have selected the Shareable flag can be shared with other people.
Managing Site Documents
To add documents that are for one or more sites, you need to add them at the Site level. For example, you might have a policy document or site wide document that you want to ensure your users can access from their apps. You will need to have Administrator privileges to do this.
- Navigate to Home -> Organisation -> Sites
- Select the Site you want to add documents to.
- Open the Documents panel.
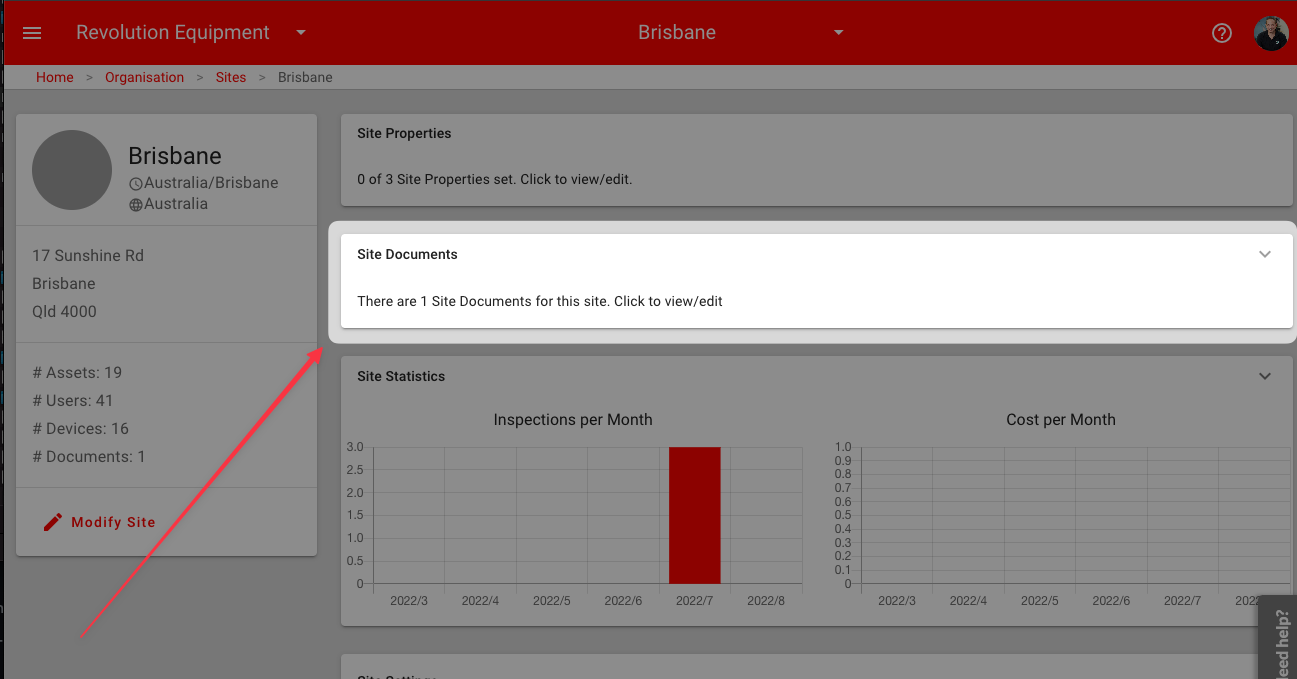
- Push the Add New Document button.
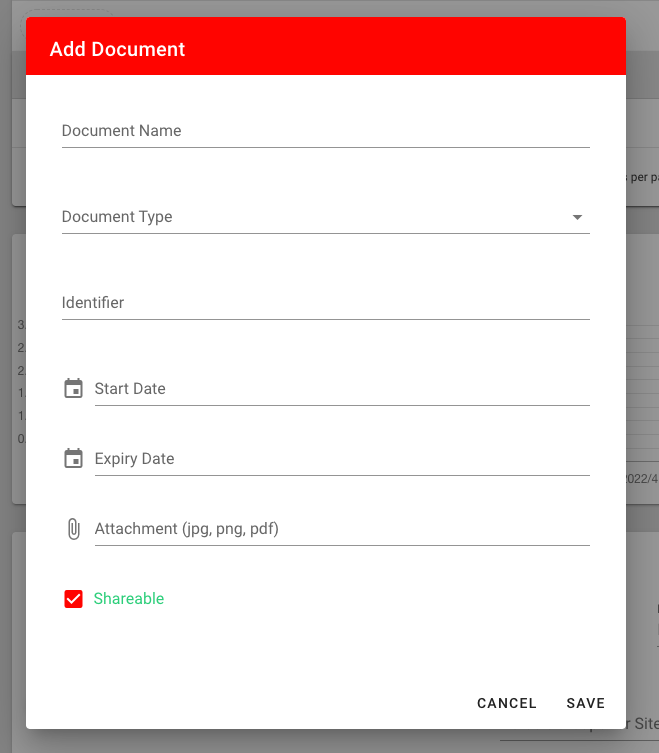
- Enter the details of the document and push the paperclip icon to select the document on your computer. You can upload image or PDF type documents. (Editable documents such as .XLS and .DOC are not supported)
- Select the Shareable flag if you want people to be able to share this document external to your organisation.
- Push Save.
The document will now be added to that site and will be synced down to the ChekRite apps when they next sync. Any asset in the site will be able to view the document and if you have selected the Shareable flag can be shared with other people.