ChekRite Portal
Getting Started
Organisation
Logging In & Out of the ChekRite Portal
Managing Your Sites
Managing Assets
Managing Asset Documentation
Managing Users
User Roles and Access
Managing Your Devices
Managing Groups
Asset Utilisation
Checklists
8 Steps to Building a Checklist
Creating a New Checklist
Setting Up the Structure of Your Checklist
Extra Info
Sub-Checks
Fail Weights & Scores
Reviewing Your Checklist
Testing Your Checklist
Publishing Your Checklist
Assigning a Checklist to an Asset Class
Assigning Warnings & Manuals
Modifying a Checklist
Output
Issues
Customising ChekRite
Guides
ChekRite App
Getting Started
Downloading ChekRite on your Phone or Tablet
Updating ChekRite
Synchronising
Logging In & Out
ChekRite Dashboard
Welcome to your ChekRite Demo
Starting an Inspection
Adding assets on the fly
Resetting the ChekRite App
ChekMate App
Troubleshooting
Resources
- All Categories
- ChekRite App
- Adding assets on the fly
Adding assets on the fly
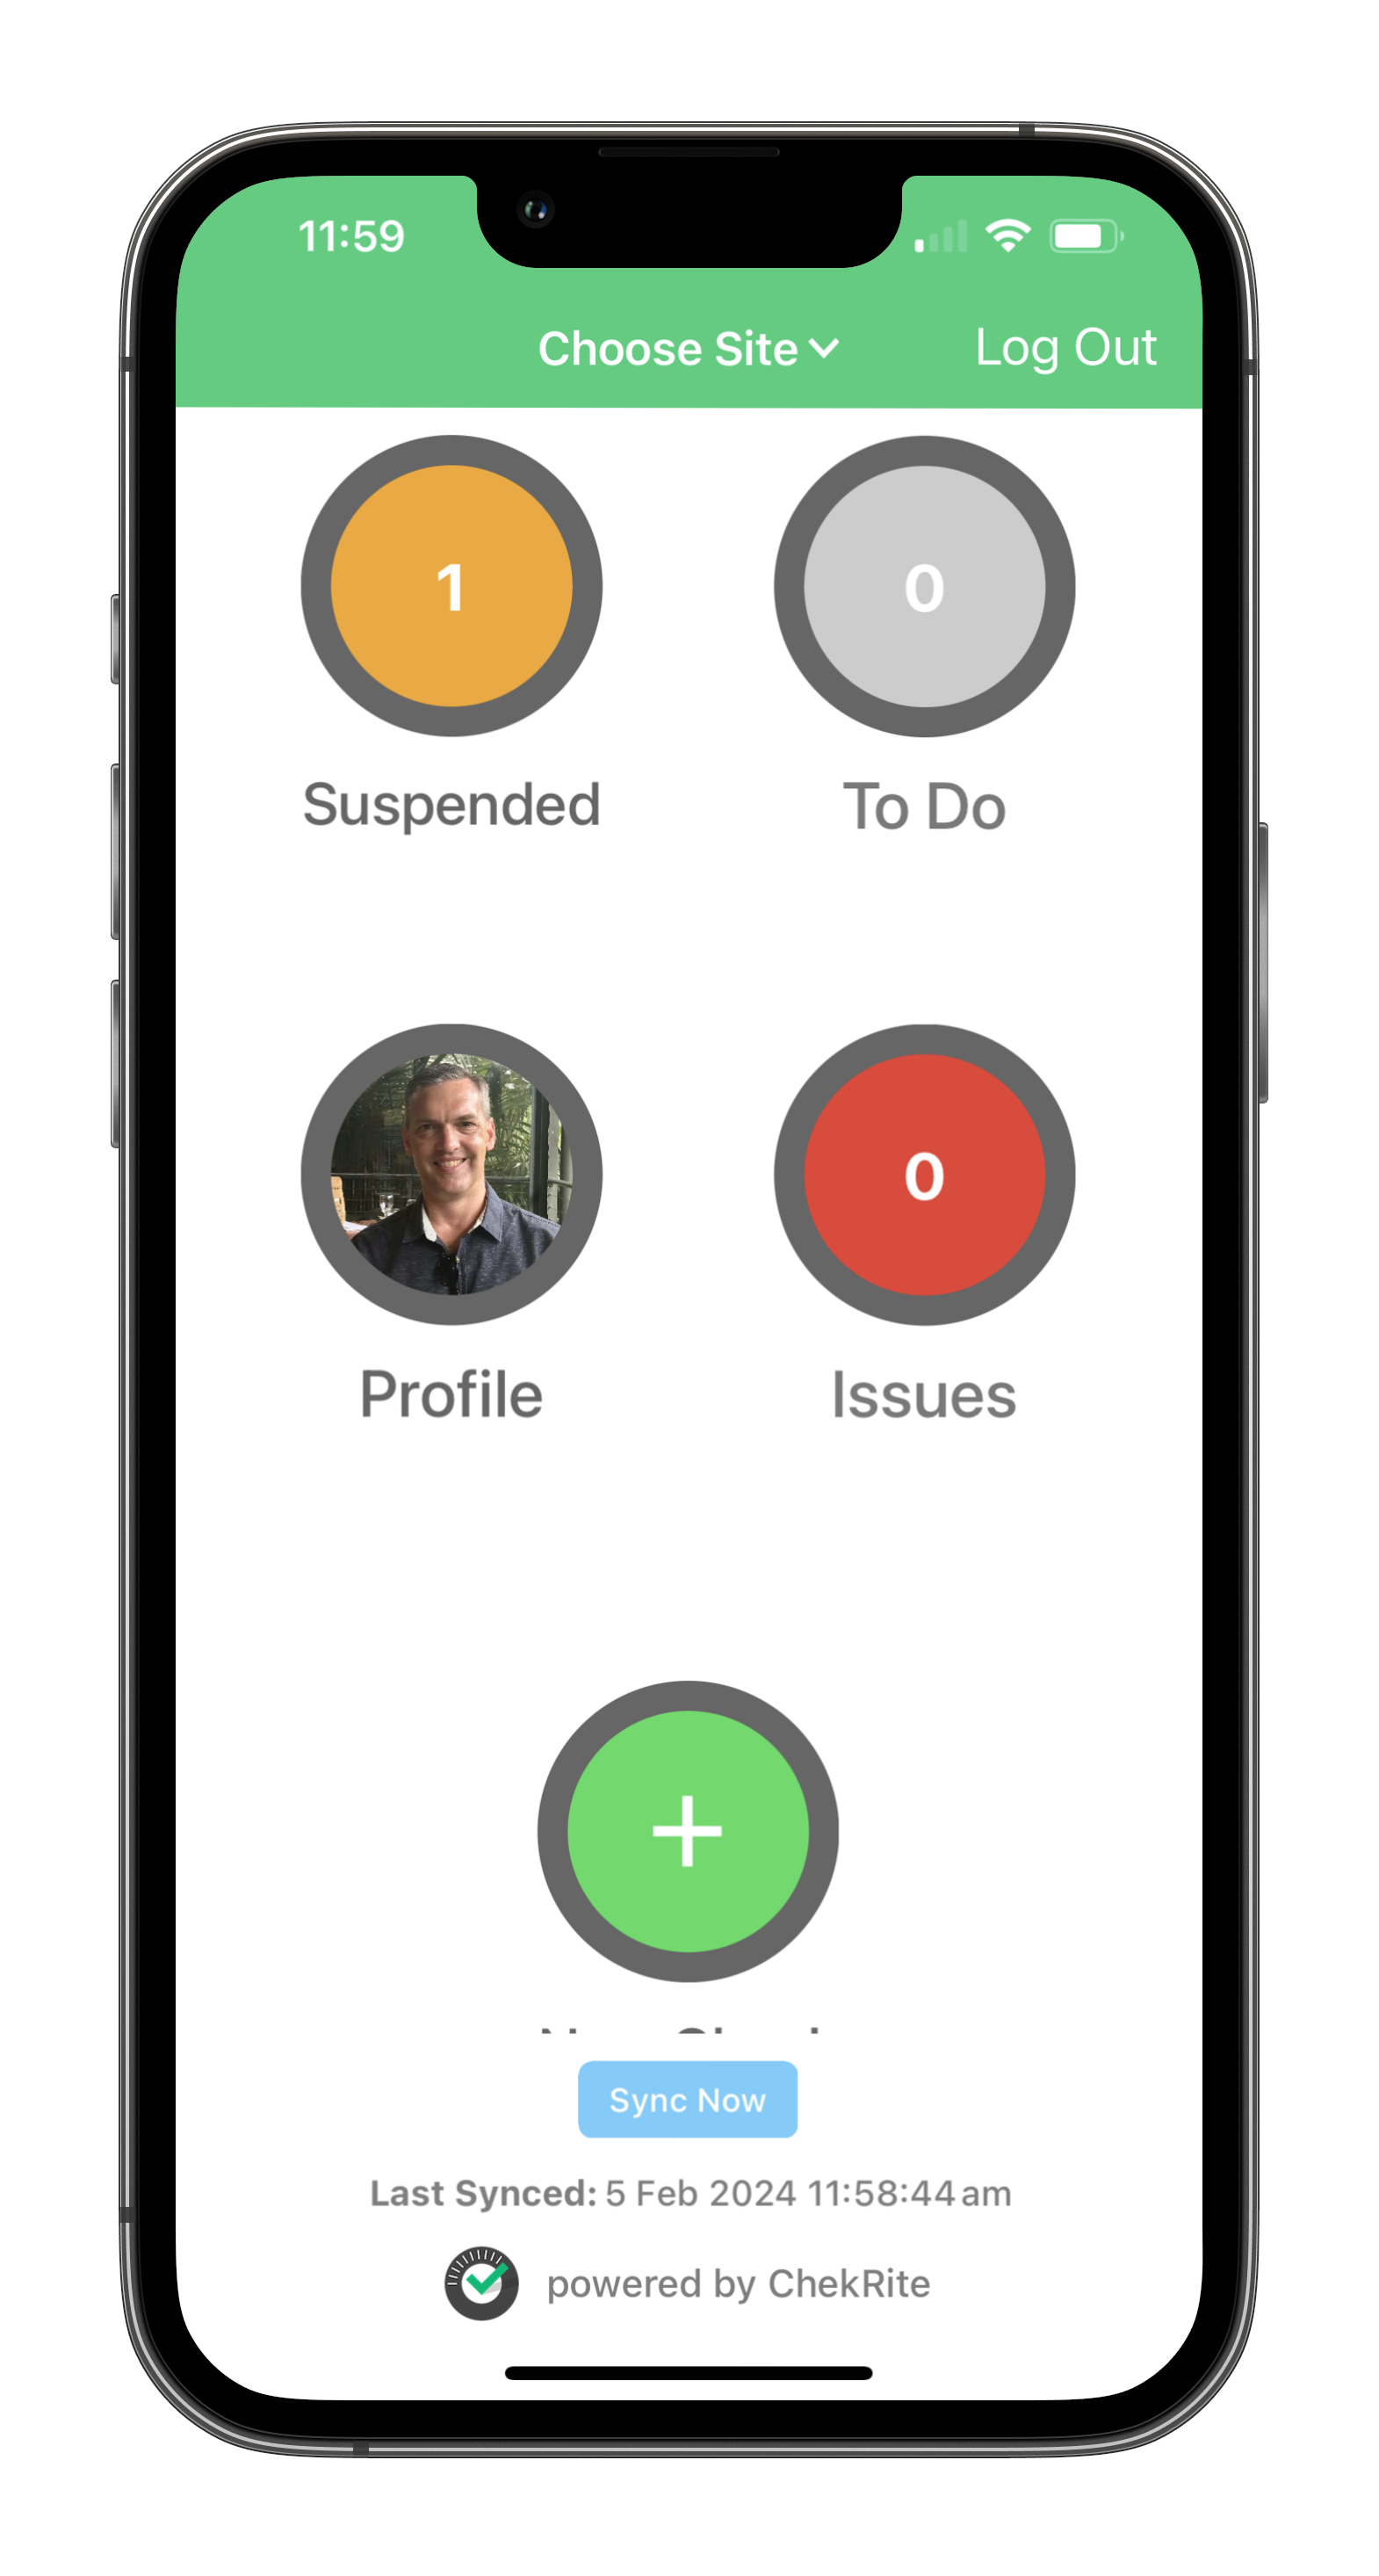
To add a new asset, select "New Check" from the home screen.
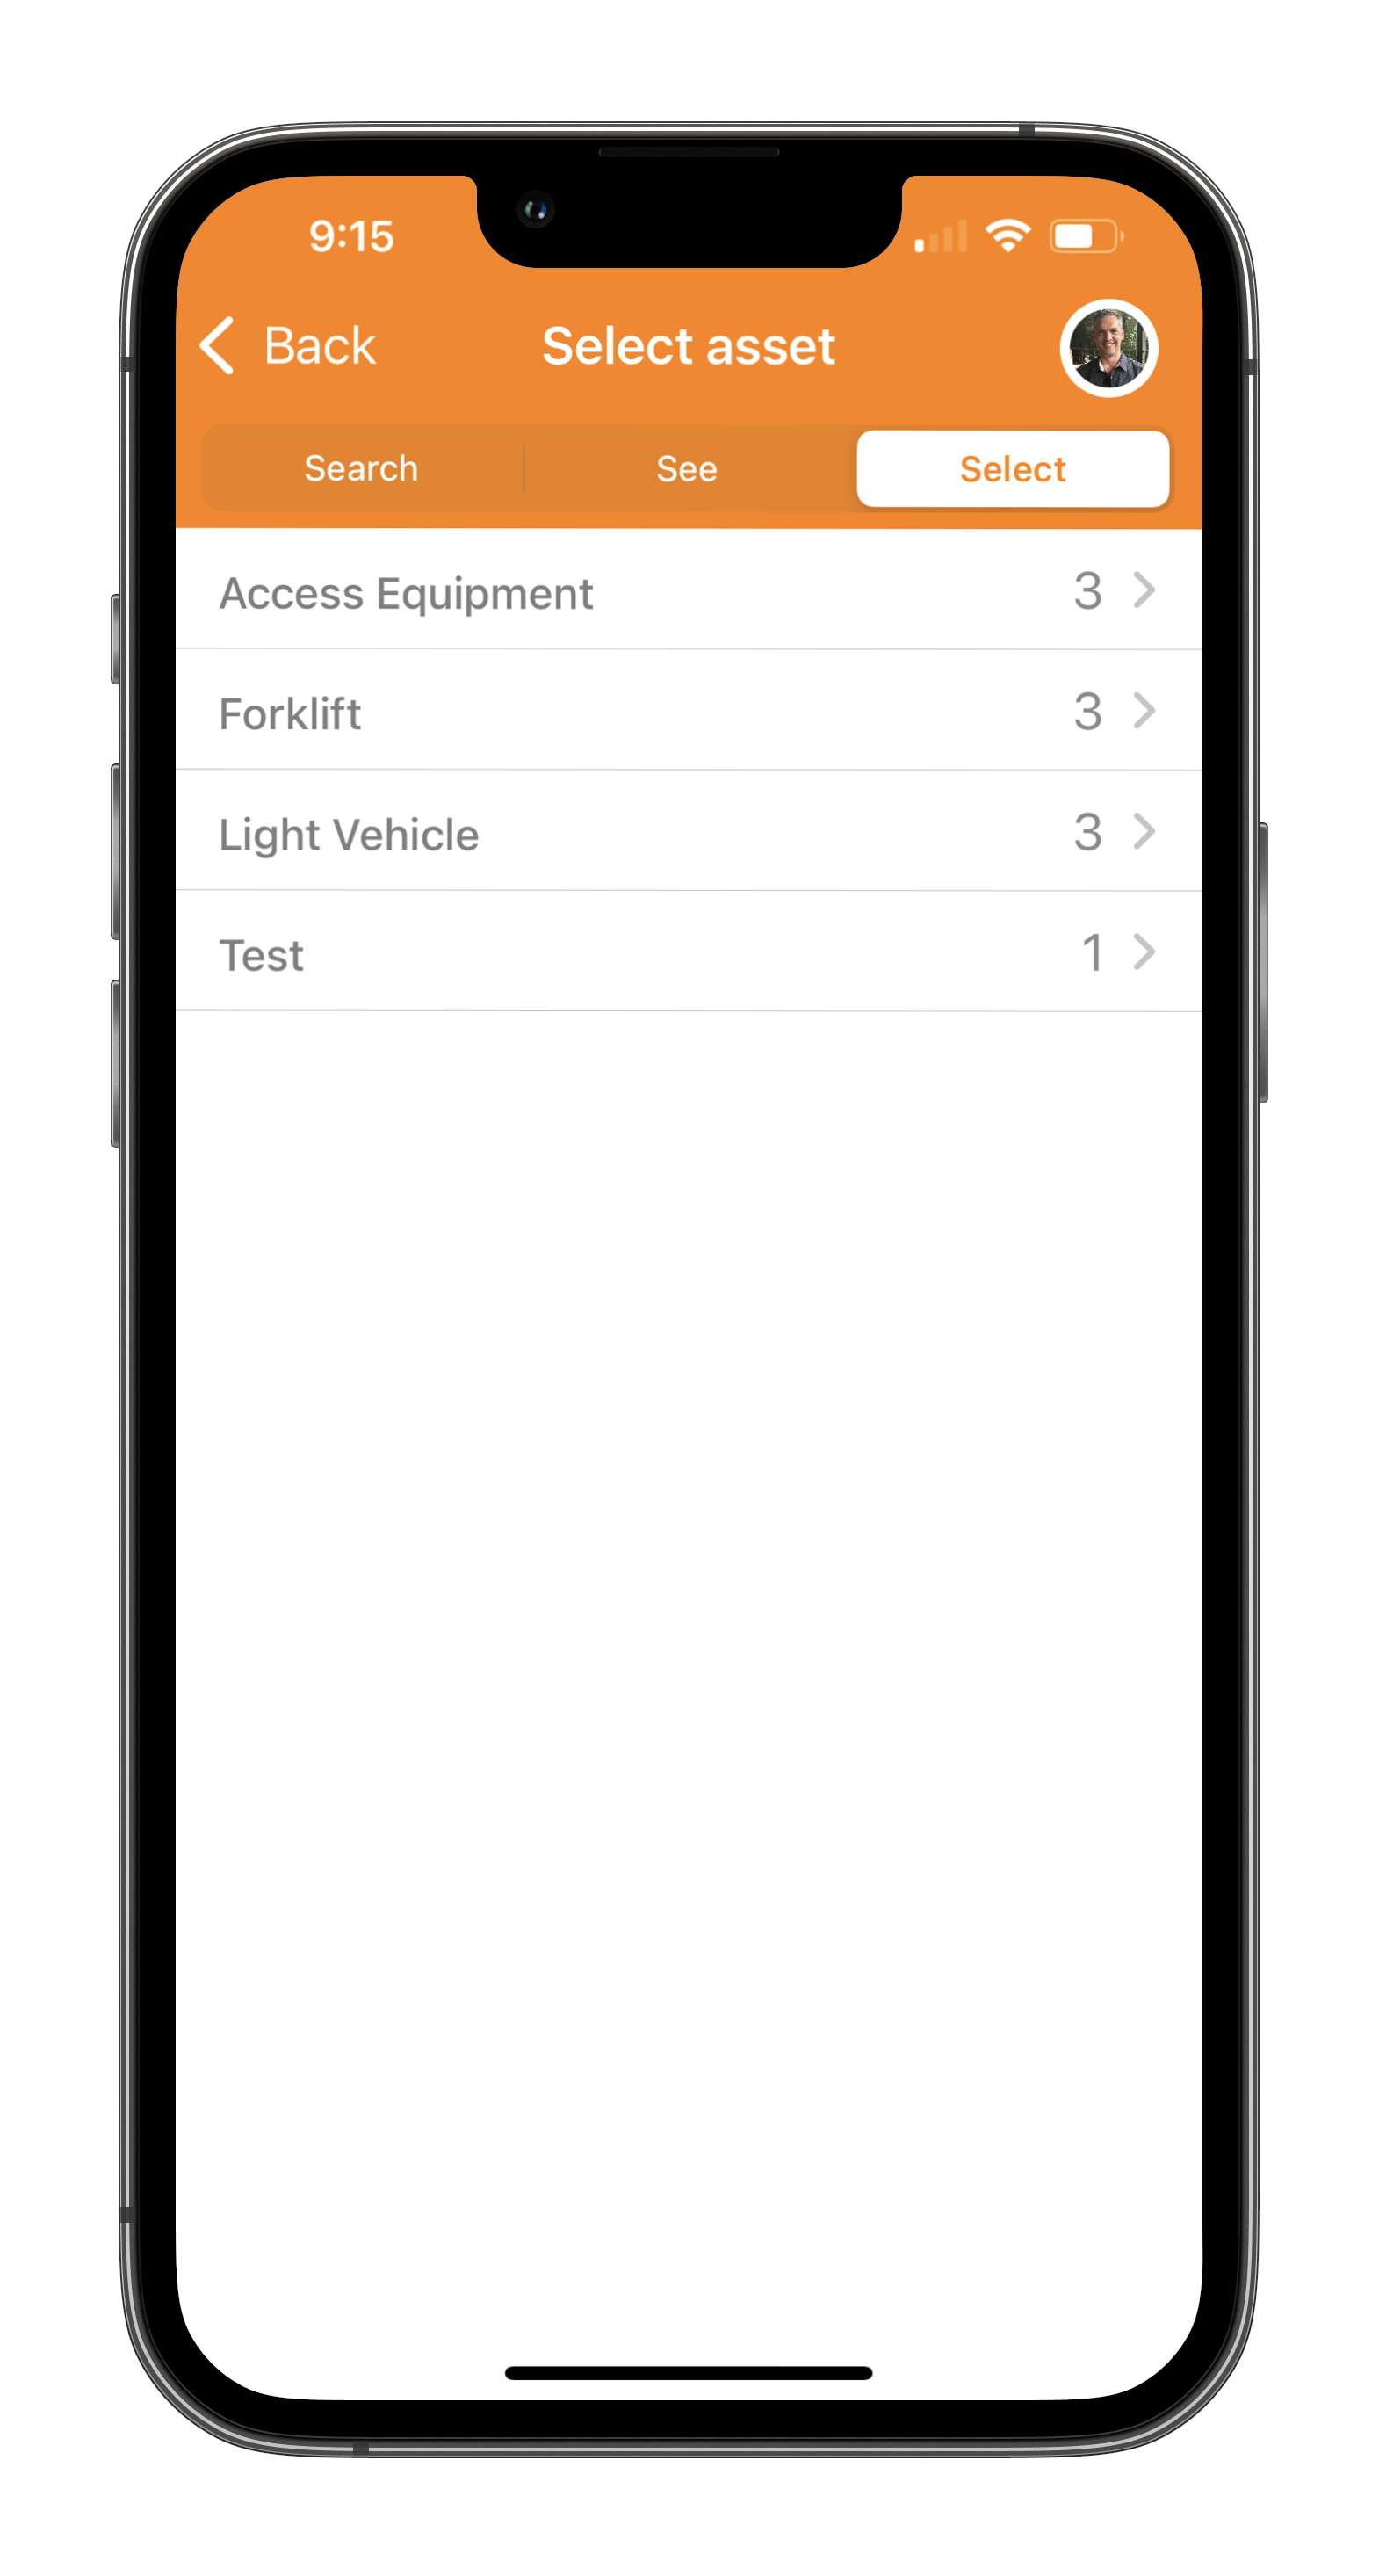
Use the asset category, class, and subclass options to select the type of asset you would like to add.
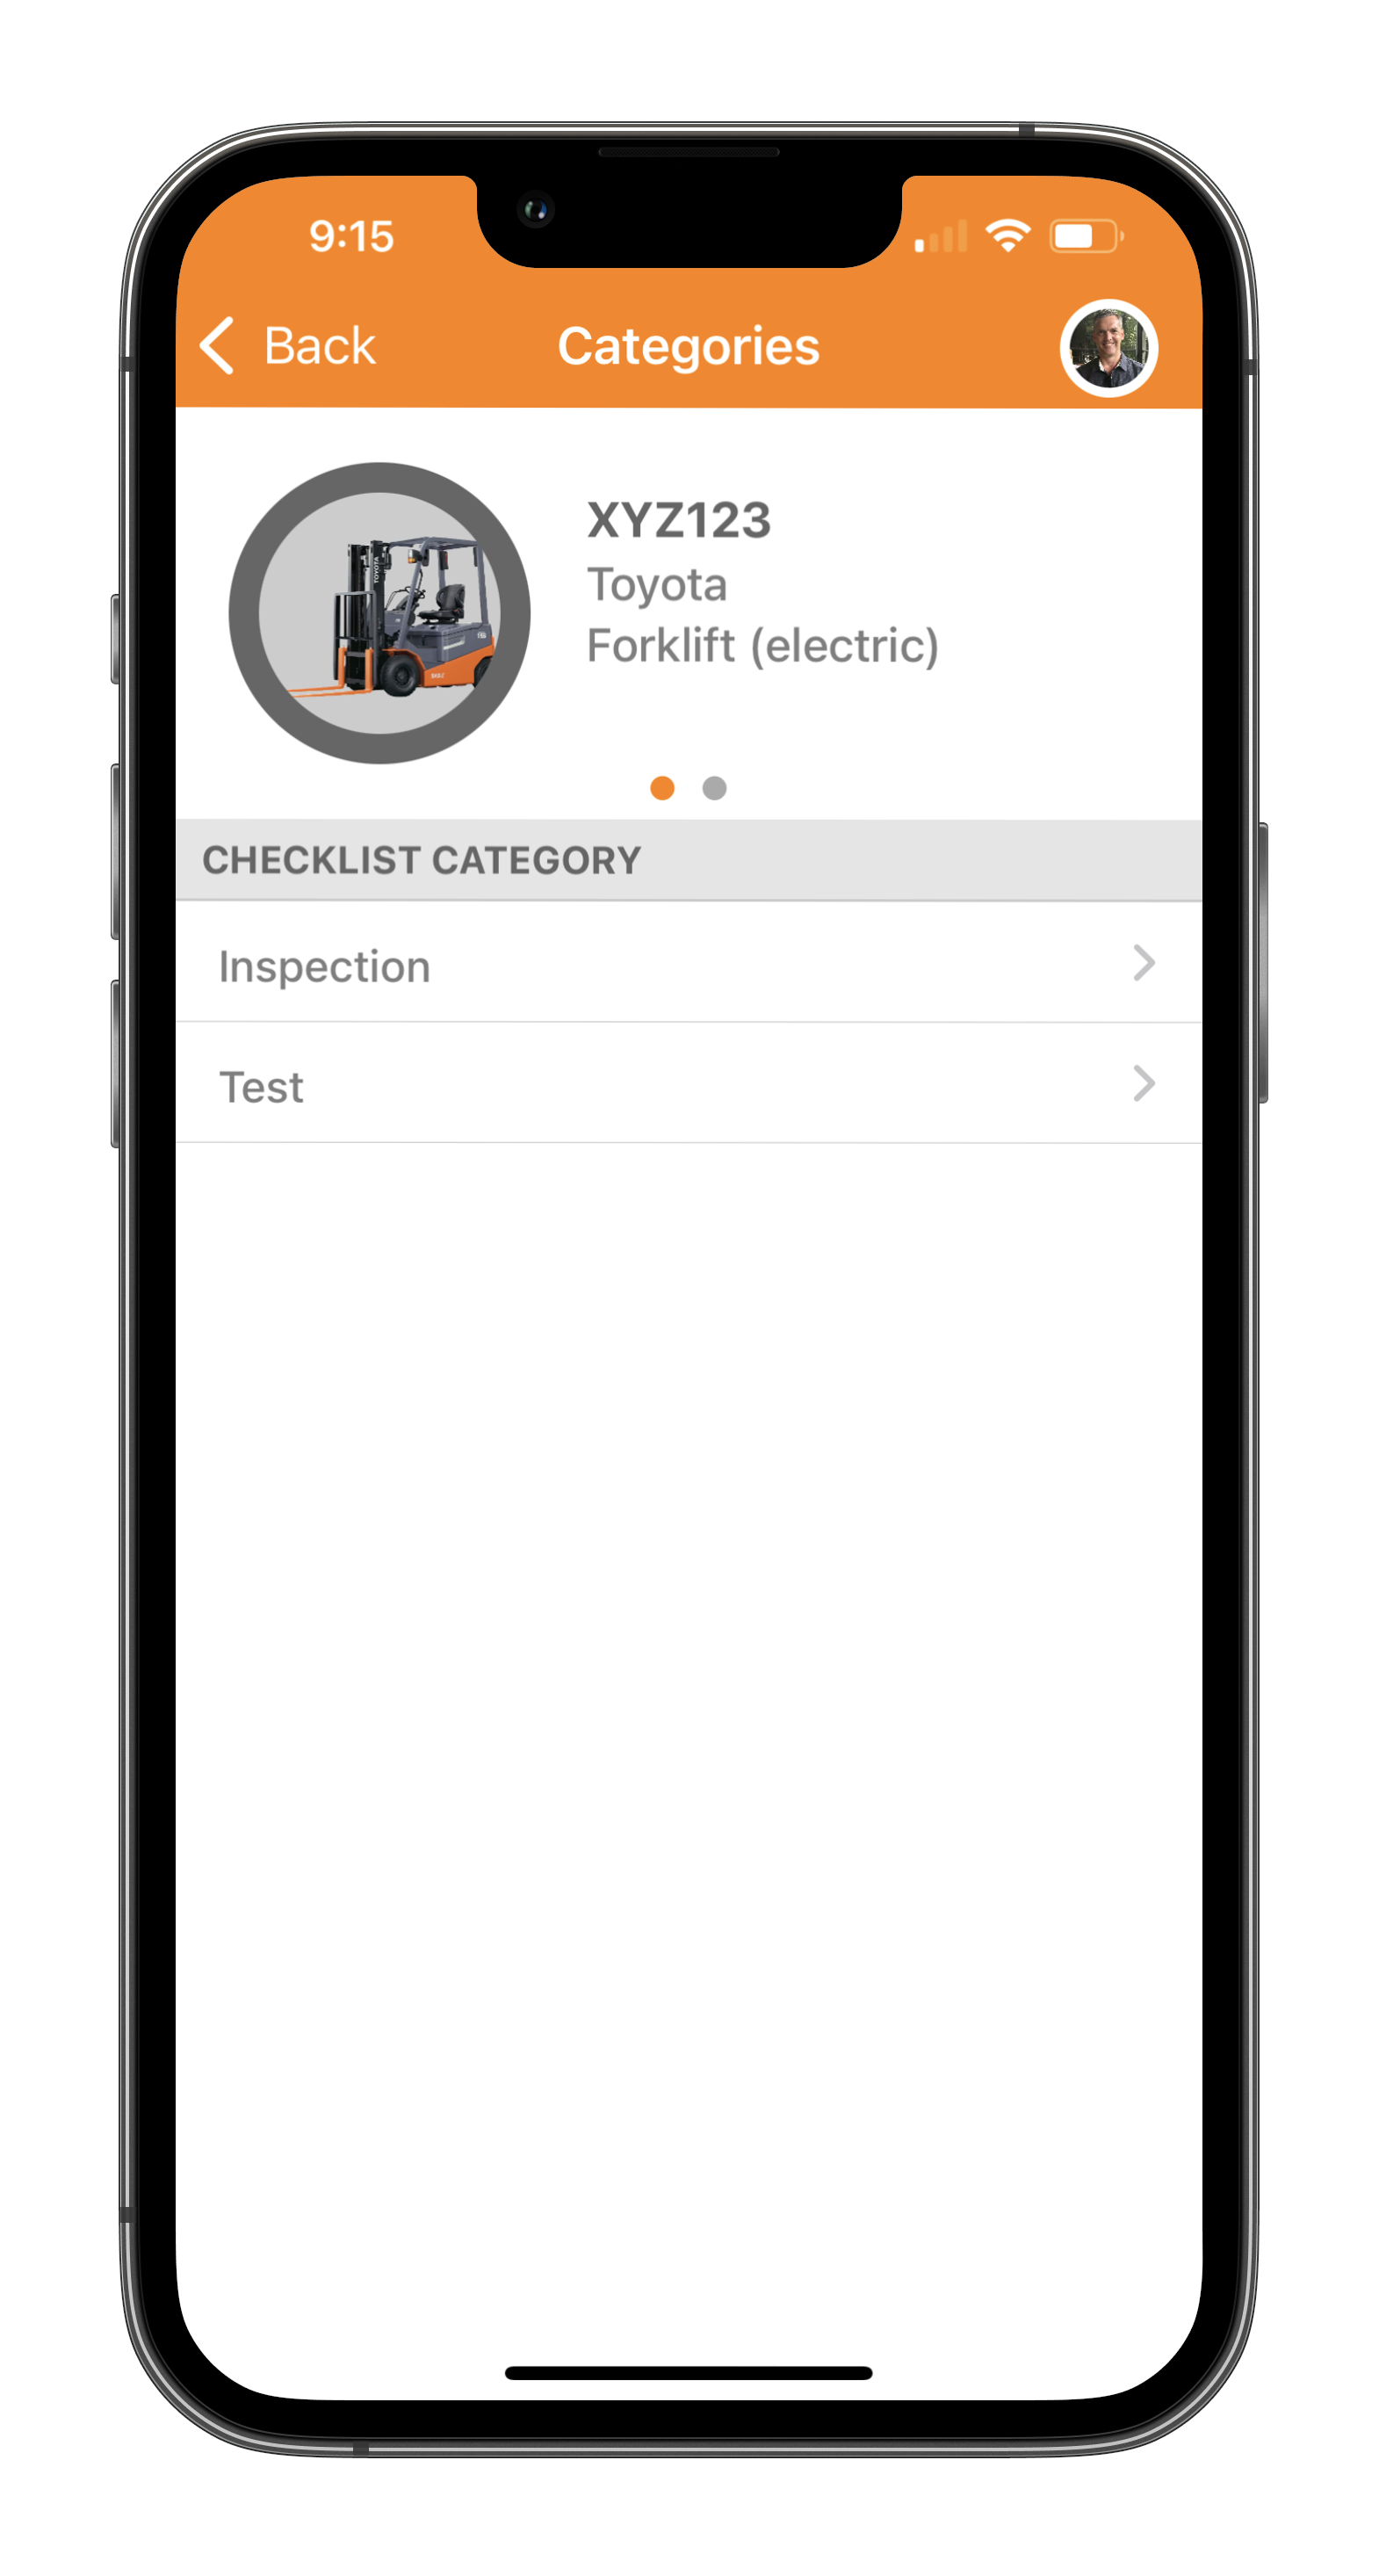
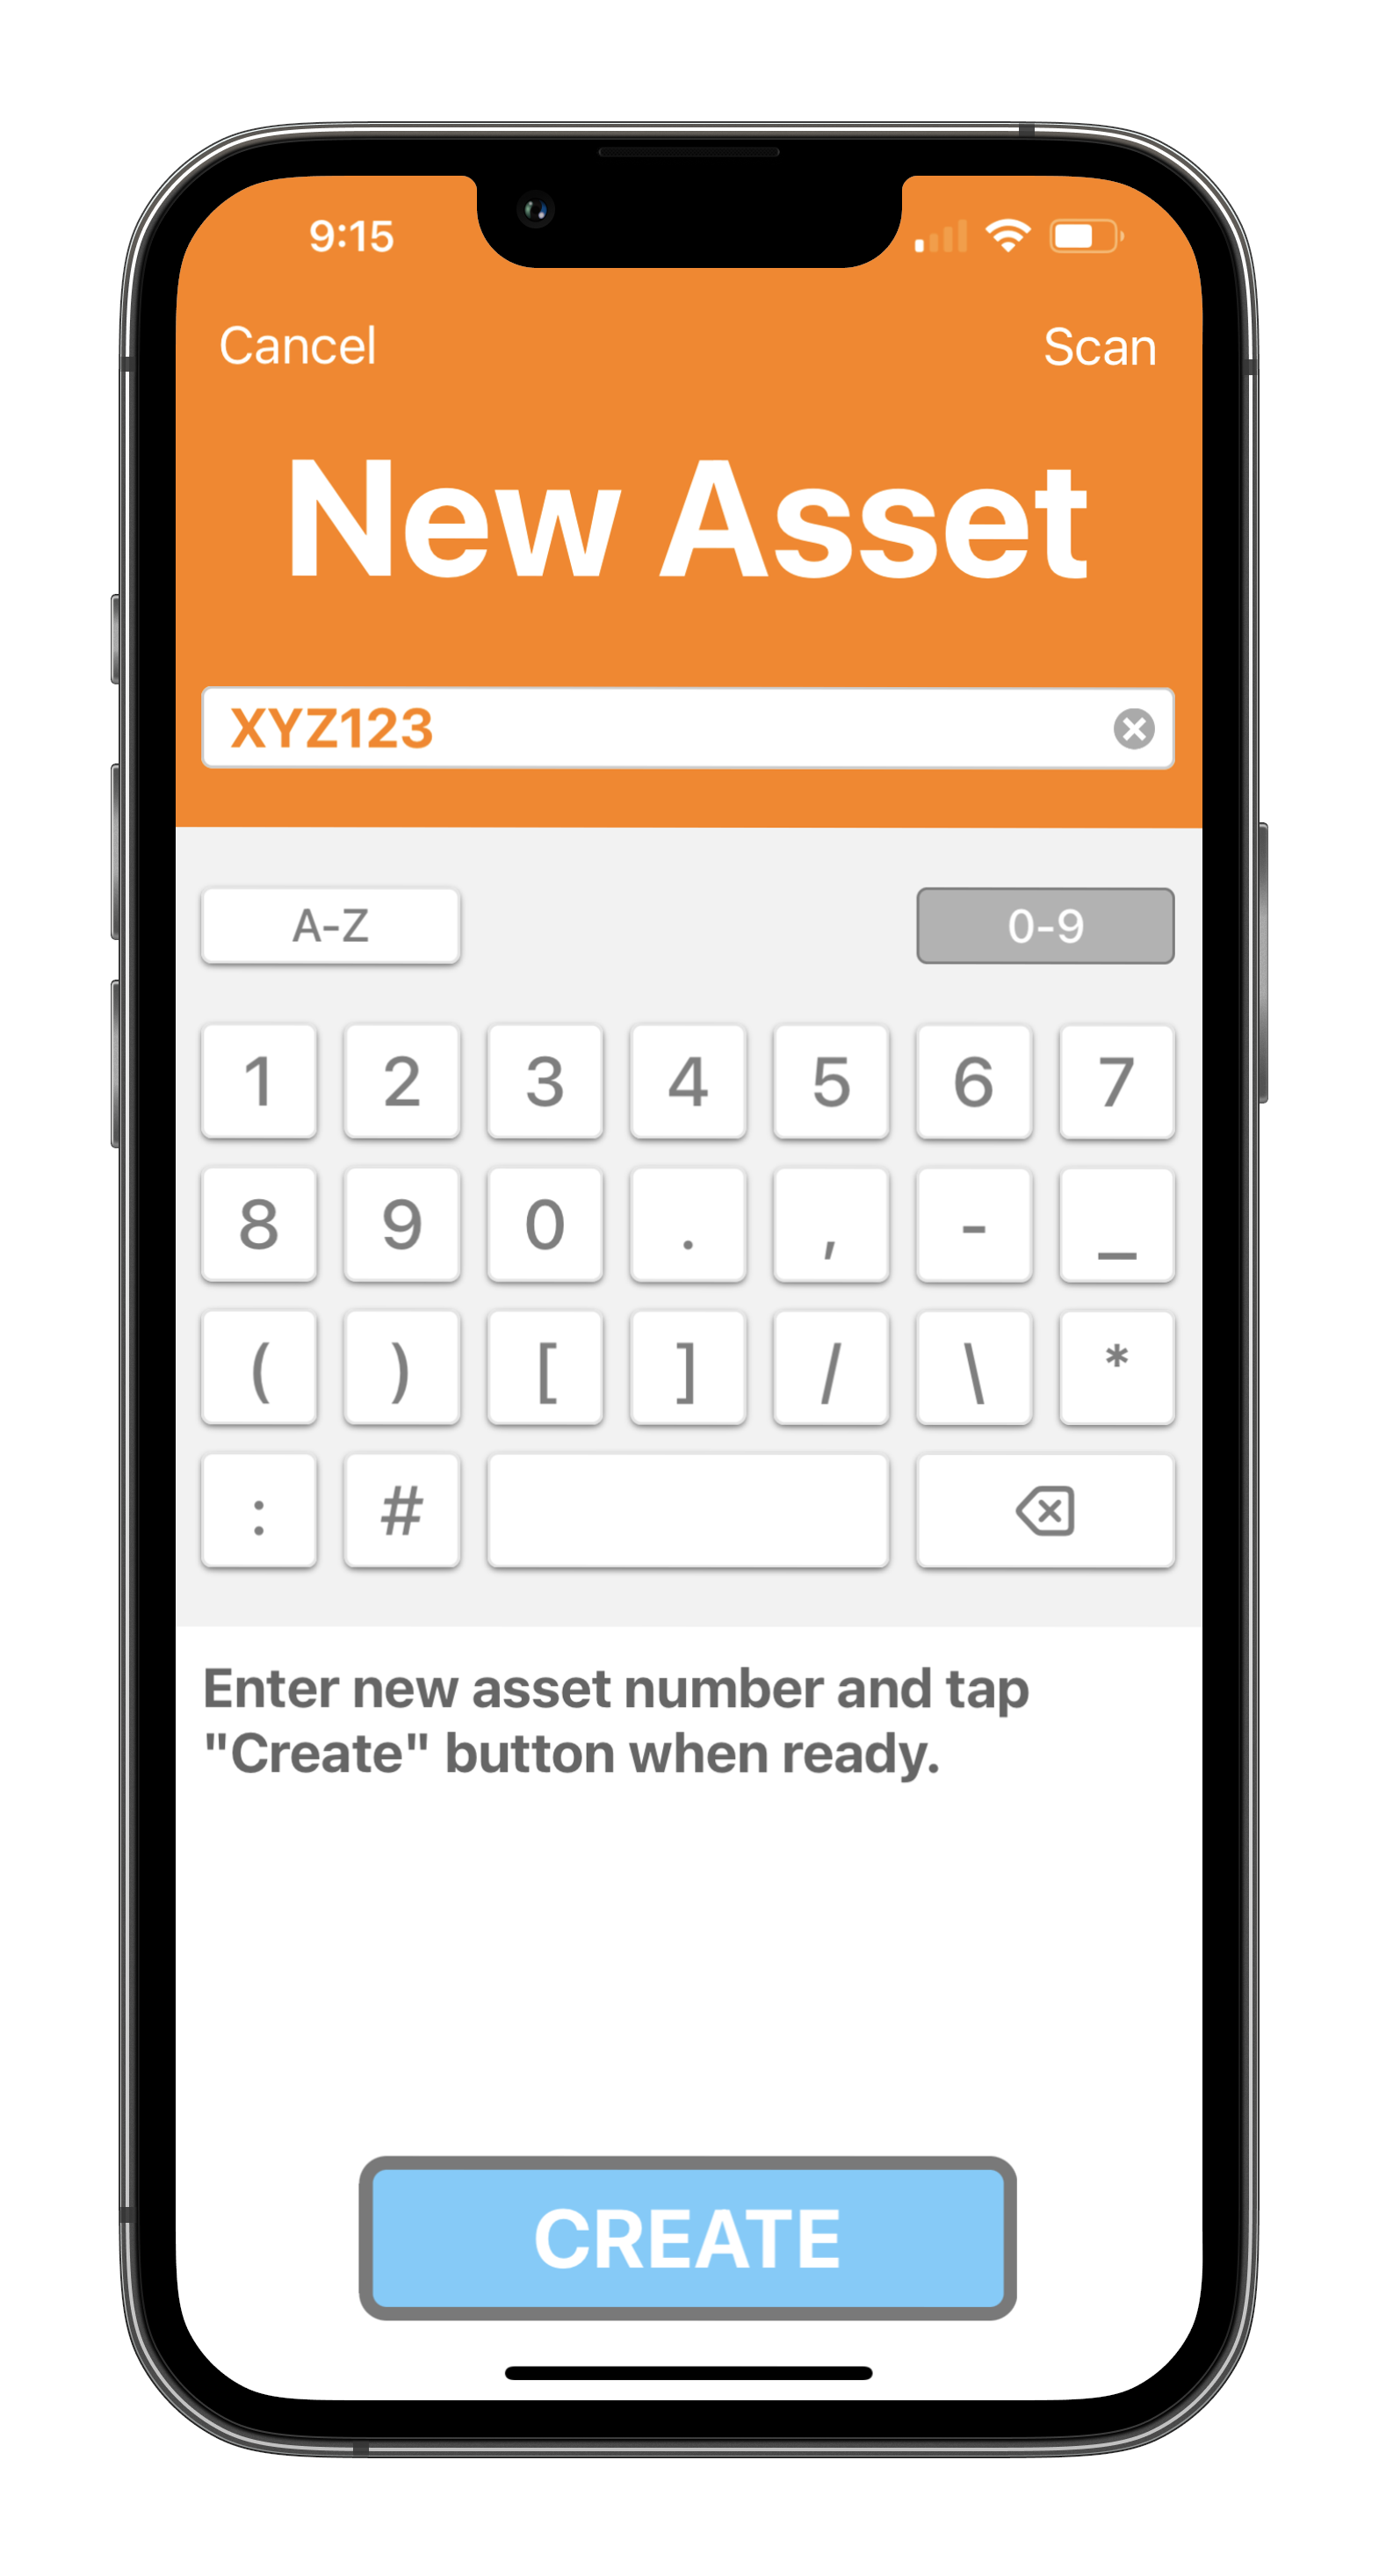
Enter the asset's ID and click "Create"
Your asset has now been created and is ready for inspection.