Table of Contents
Cloud Storage
It is possible to have ChekRite automatically file reports in cloud storage after each inspection. You can customise both the file name and where it is stored, and even dynamically create folders and sub-folders.
There are two main steps involved in setting up Cloud Storage:
- Authorise your cloud storage service (e.g. Google Drive); and
- Set up a Notification for Cloud Storage.
Authorise Cloud Storage Service
The exact steps you use to authorise a cloud storage service will differ slightly by the provider. These instructions are for using Google Drive but it will be similar to any other services that ChekRite supports in the future. You only need to set this service up once and you can use it multiple times in different notifications.
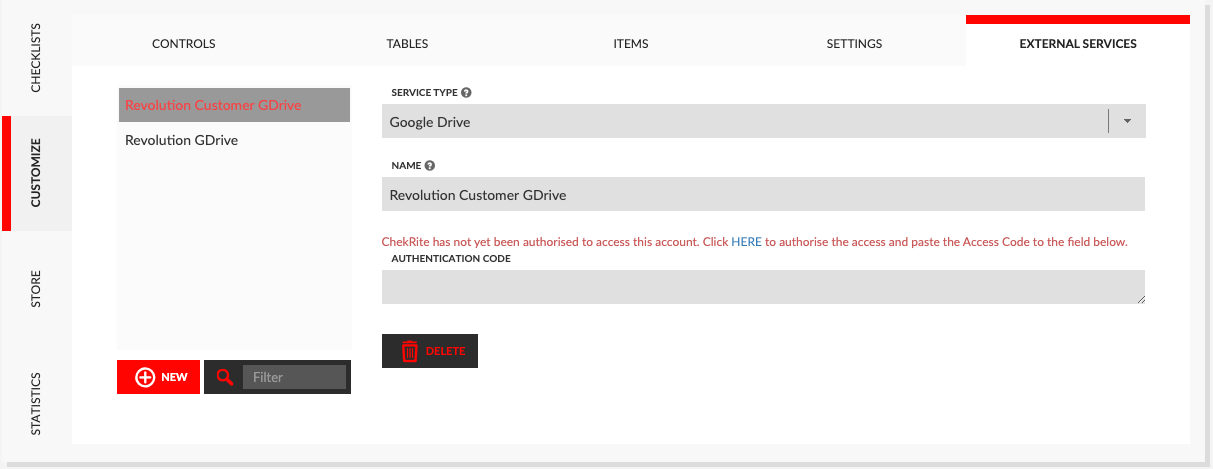
- Navigate to Advanced > Customise > External Services.
- Click the New button.
- Select the Service Type from the drop down menu.
- Enter the Name of the service that you will refer to it as.
- Click on the blue word HERE in the red message to authorise the cloud storage service.
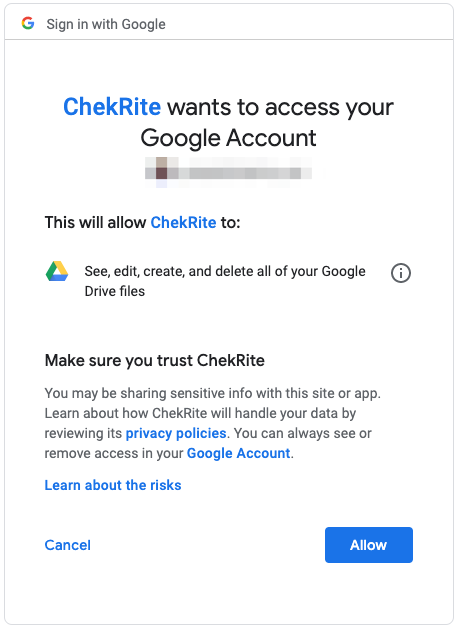
- You will be presented with the a sign-in screen to sign into your account at the service provider (e.g. your Google account in this case). Sign into this account and then authorise ChekRite to access the drive to store files by pushing the Allow button.
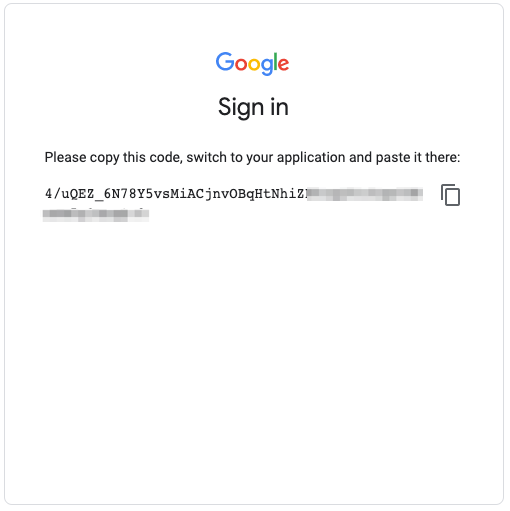
- You will be presented with an authentication code. Push the icon to copy this code.
- Switch back to the ChekRite Portal and paste this authentication code into the field on the screen.
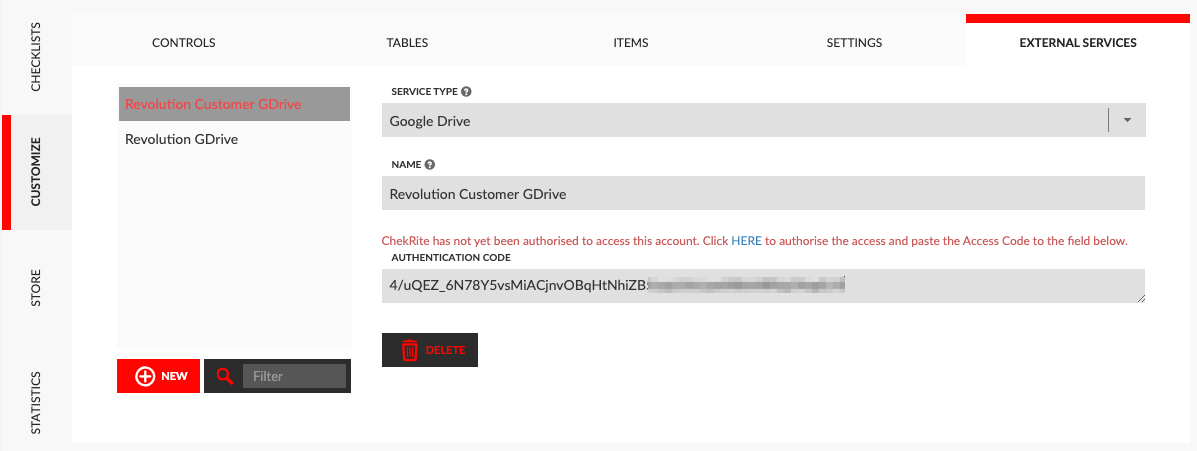
- Once you have exited that field by clicking somewhere else or pushing tab/enter, the service will be connected. You will have to enable it though by checking the Enabled box.

Your service is now ready to be used in Notifications to store ChekRite PDF's automatically.
Setting up a Cloud Storage Notification
Setting up a Notification involves setting up the Rules then setting up the Actions. We won't be discussing setting up rules here but will show you how to set up an Action to save ChekRite PDF's directly into your Cloud Storage service.
Once you have set up your rules, do the following to set up a cloud storage action:
- Navigate to Notifications.
- Create your Rule then click on Actions.
- Enter the Name of the action.
- Select Cloud as the Type of action.
- Select Google Drive as the Service Type.
- This will populate a list of the services you have set up in the Service Name drop down. Select the one that you want to use for this action.
- Enter the Folder Structure to use when saving the report. You can use a combination of fixed text items and placeholders to create the folder structure. The placeholders will be dynamically filled in when saving the file and folders that don't exist will be created. Below you can see an example of a Folder Structure that is using a combination of both fixed and dynamic placeholders.
- Enter the File Name you wish to save the file as. Again you can use a combination of fixed text items and placeholders to create the file name.
- Optional: Determine how you want duplicate file names to be handled.
- Select the Attachment you wish to be the contents of the file. Depending on the Event Type of the rule this will be relating to the inspection report or an issue report.
